
Compare complete 8 m split solar street light configurations. See what a different battery or solar panel changes across the electrical, mounting and civil drawings.
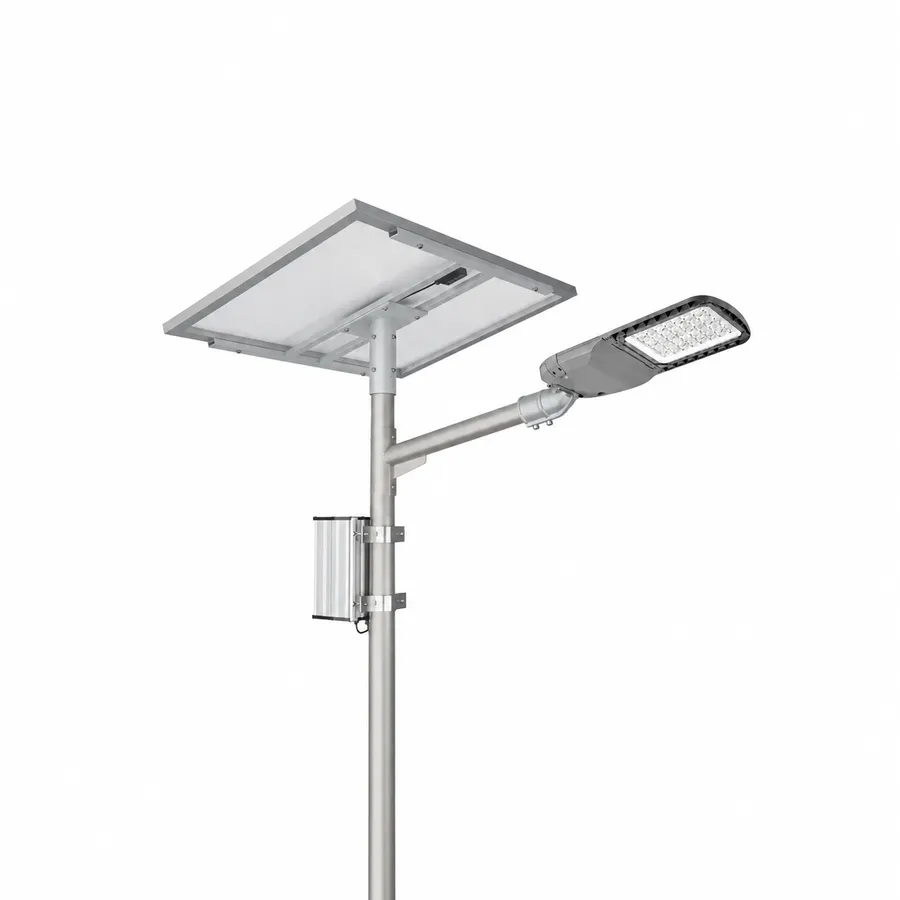
Ask for the proposed panel size and the revised bracket drawing together. Keep the original panel and battery entries visible in the BOQ so the contractor can compare revisions.
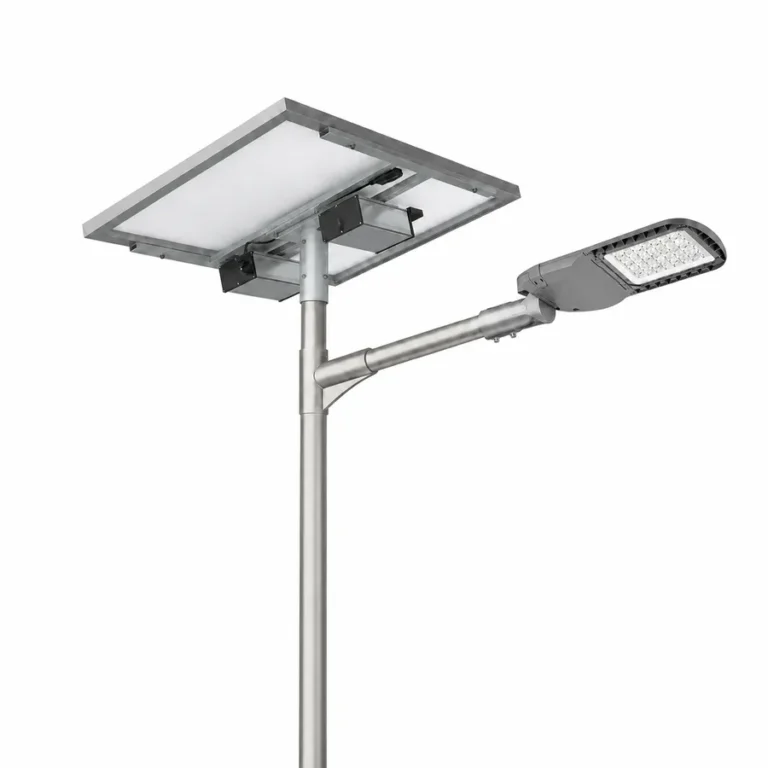
150 Wp separate panel · 1,408 Wh nominal battery in the series reference
Use the 80 W option to compare independent panel and light aiming. Check the far verge and the panel bracket before release.
Send first
Share the nightly input schedule, location and shade, and the current panel, battery and controller lines. If you have operating logs, mark when the lights started dimming early and how long it took them to recover.
What to check
Keep the lighting duty fixed while comparing battery reserve, panel harvest and changed dimming. Ask for usable Wh and recovery in the weakest solar period. Use those results to compare offers on the same basis.
Compare the current supply and the proposed 8 m split system on the same road and lighting schedule. Work out how much energy the light draws each night and whether the solar array can put it back in an unfavourable week. A larger battery can hold more reserve. The panel and weather determine how quickly that reserve can be rebuilt.
| Offer or symptom | What to ask for |
|---|---|
| More battery with the same panel | Usable Wh and a recharge calculation for consecutive low-sun days. |
| More panel with the same battery | Expected harvested Wh, controller compatibility and the revised panel dimensions and bracket load. |
| Less light late at night | Hours at each actual input level and the expected effect on the crossing or occupied area. |
Useful back-to-back comparison records both the generation and the state of charge after the same sequence of days. Send the panel and enclosure drawings with the energy proposal so a change to storage or panel size is visible to the pole reviewer and purchasing team.
| Order item | Confirm in your BOQ |
|---|---|
| Lamps | List the head, optic and arm by pole location. |
| Solar and wiring | List the panel, battery and box, controller, brackets, glands and cable set as one revision. |
| Pole and site work | Confirm pole, fasteners, base plate, anchors and template against the selected panel and foundation drawing. |
A split layout lets a buyer change the photovoltaic panel or battery without moving the road light. That flexibility helps when the site has limited charging hours or the owner wants a different reserve. Each option still has to be described as a complete assembly. In the schedule, identify the luminaire, optic, panel, controller, usable battery energy, wiring, mounting and service arrangement. Give every option an identifier and the relevant drawing references. When purchasing compares the two, have them read across a single option at a time instead of assembling an attractive line from each one.
Draw the actual positions of the emitting centre, arm, panel and enclosure for the 8 m layout. A position on one side may serve traffic and the other may serve a pedestrian area. If those heads have different duties, state the intended light and schedule for each. Use the same road and weather assumptions when the change under review concerns only power supply. If an alternative also changes pole position or optic, ask the lighting reviewer to identify a separate calculation and describe the impact. This lets the client understand which difference is responsible for the improvement.
Our past project correspondence included an 8 m comparison where a request for separate solar panels and luminaires followed discussion of a mains-backed arrangement. The later request specifically called for a separate off-grid design. The single-arm and twin-arm quantities also changed. In that kind of revision, start a new list of equipment, drawings and operating conditions for the off-grid option. Ask the customer which earlier inputs still apply. Avoid carrying the earlier backup design and associated controls into the new version through a copied bill of materials.
For procurement, describe what powers the light through a night with low charging. If there is a separate mains-backed option, state when it uses the grid and how those operating assumptions affect the comparison. For the off-grid system, request the site energy review and operating logic for weak charging. Put the answers alongside the exact option ID instead of using a shared runtime statement. Where one pole will have two heads, confirm whether they use independent electrical systems or share any components. The drawings and spares list should show what happens if one part needs repair.
A larger battery can carry a lighting load for longer if enough usable energy has been stored. A larger or better-sited panel can increase the energy available for charging, subject to the site and the selected controller. Ask the supplier to calculate each choice using the same hours at each output, temperature conditions and design period. If the stronger panel can be aimed independently of the light, record its position and solar exposure. If shadow persists at that position, verify whether moving it is more helpful than increasing its rated power.
Have the energy review show the electrical load per night, the project’s usable reserve and the method used to assess recovery after consecutive weak charging days. Give an example of what the owner expects after those nights, such as priority lighting at a crossing or a defined programme for the full road. Confirm the controller’s compatibility with the selected panel, battery and load, and how the operating settings can be checked on site. A physical change to a battery or panel may affect the enclosure, mounting kit, cable length and order quantities. Add those consequences to the comparison before accepting a price difference.
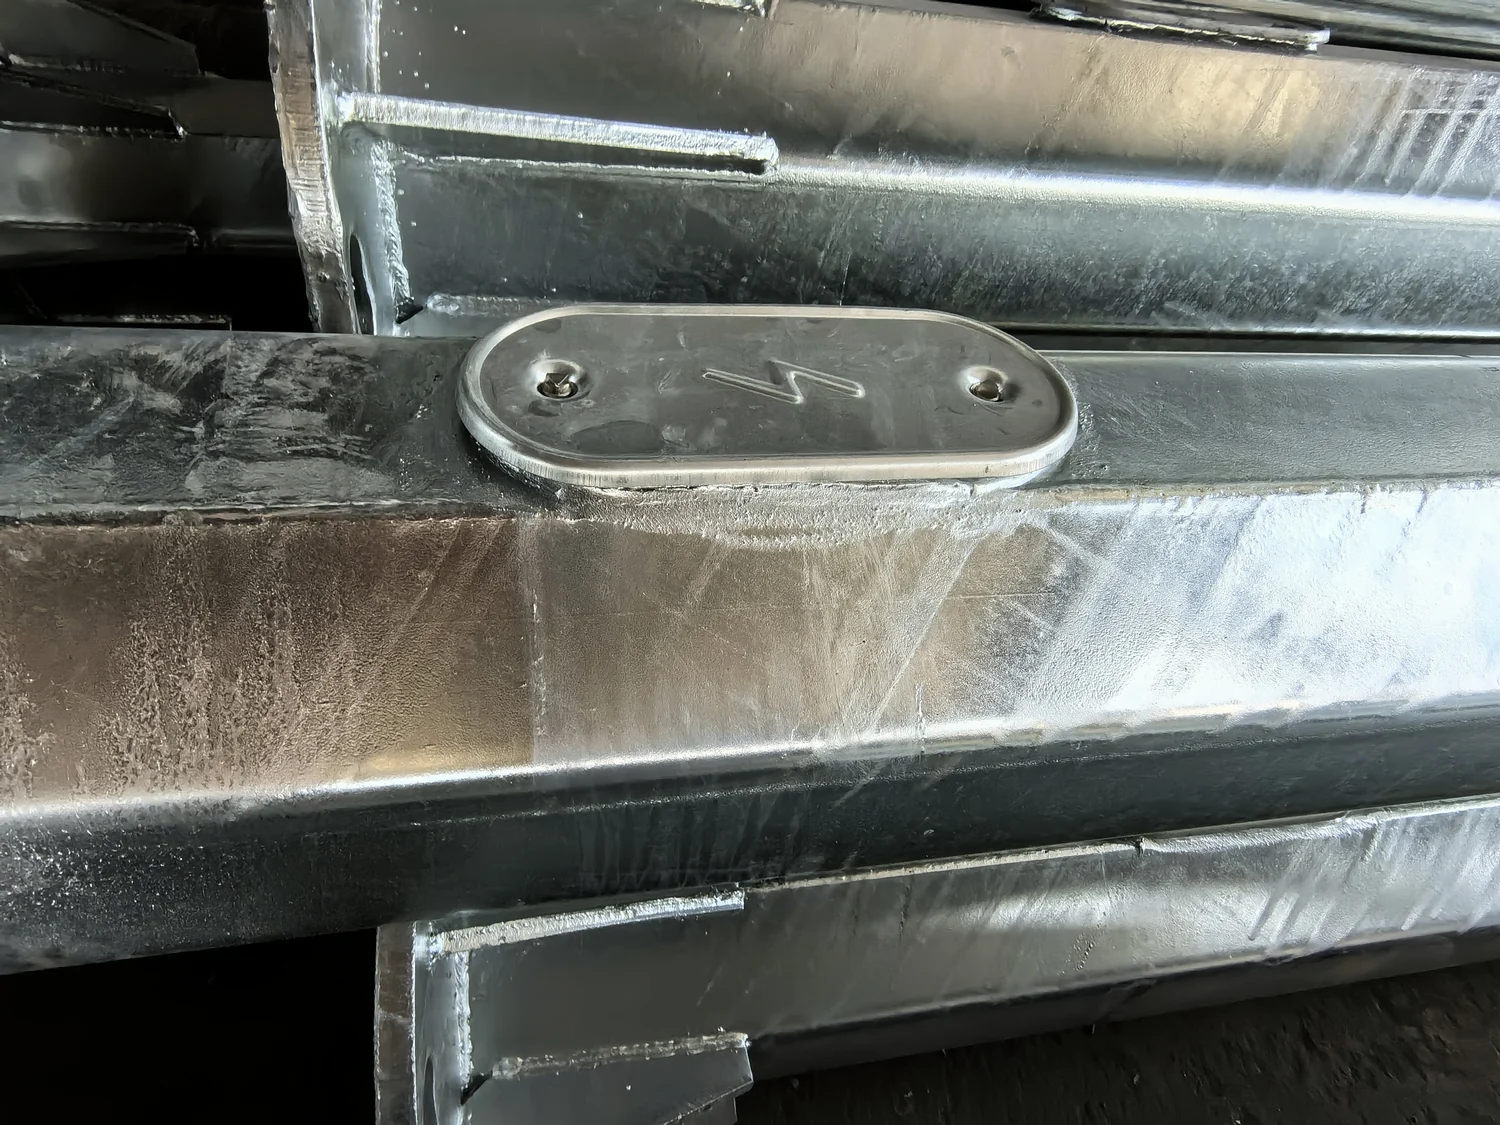
A new participant may see the same 8 m heading and assume the pole drawing remains usable. Put the selected panel dimensions, installed position and supporting bracket into the structural review. Give the responsible reviewer the luminaire, arm, enclosure and the other loads at that pole. For a twin-arm position, define both sides. Use the separate compatible engineering output for each bracket and pole arrangement. If the design changes how the panel is mounted, confirm which foundation, base plate, anchor and positioning template revisions remain appropriate with the project reviewer.
In the electrical package, show cable entries, connector types, branch or shared equipment and the actual lengths to each endpoint. At the civil boundary, confirm the location and orientation of openings through the base and pole. Provide the dimensions and working access for any equipment fitted through the inspection opening. A historical 8 m column submittal in our files listed the handhole and the base interface separately, which made it possible to ask about service access and foundation fit without assuming both followed the nominal height. Apply that same check to the actual solar pole and hardware proposed for this project.
A useful change record gives a practical reason, such as short winter charging, a restricted lifting point, a new twin-arm position or a requirement to retain the foundations. Put that reason at the top of the revision. Under it, list each affected item with the former and proposed configuration and the document or sample that will verify the change. Ask the buyer and the technical lead to confirm the areas that remain based on the prior layout. A change to a panel does not automatically mean the road lighting calculation needs a complete rewrite, but a different light output or aiming change needs review.
Before ordering, ask whether a submitted report covers the exact item it is used to support. For optical performance, compare the photometric file and selected lighting mode. For battery and system choices, check the identified models, operating conditions and interfaces. A report about a part from the original option may still be relevant if the part genuinely stays the same. Preserve the applicable record and request the evidence for a new part when its performance is involved in approval. Keep wind and foundation review with the installed assembly; it describes a physical arrangement, not just a component name.
When the parts arrive, review the labels and kit contents by option. If the order includes single and twin-arm positions, inspect the parts for each arrangement. Check the supplied connectors, mounting hardware, enclosure fittings and cable routes against the approved drawings. Have the installer confirm the panel and luminaire can be fitted at their documented positions with suitable access for later service. Any change found here should identify the affected position and option, so other kits can remain in their approved arrangement.
When an order is already in progress, distinguish an option the buyer is considering from a formal revision to the supply. Ask the factory which assemblies have been made, which loose parts can still be reallocated and whether any documentation or markings have already been packed. Then compare the change against those commitments and agree the release schedule. A clear change notice should tell the warehouse which kits to hold and which can continue to ship. At the site, check that the affected pole numbers and assembly instructions are available at the point of installation. Keep the former option reference next to the approved revision in the receiving record so that mixed deliveries can be identified.
Commission the first installation with the approved profile for that variant and check that the records identify which controller, battery and lamp were fitted. Review the mounting and lighting at the selected conditions, then retain the position-specific records for the client. If the owner keeps spares for each variant, label them for the positions they can support. A change in battery chemistry, controller settings or connector arrangement can make visually similar parts unsuitable. Handing over the correct references and instructions reduces the time a technician needs to identify a fault after the supplier has left the site.
Ask for actual W and hours at each level. Agree which parts of the road must keep their lighting level when offered a different dimming schedule.
For storage, check usable Wh and the charging recovery. For a bigger panel, check output at the installed angle, controller limits, bracket dimensions and exposed area.
Put the exact part references and drawing revisions on the BOQ. Check the labels on the first kit and record the agreed controller settings.
Ask the bidder to show what changes when a longer night is requested. Use the same output stages and road optic on both proposals. Keep a short table of the changed panel, battery, controller, cable and bracket. It should also show who is responsible for checking the wind area or controller compatibility before the longer-runtime version is approved.
Send the new panel and bracket dimensions, weight and position to the structural reviewer along with the other equipment. Confirm whether the previous pole, base and anchor approvals still cover the proposed arrangement. Update the installed equipment view and mounting details even where the reviewer accepts reuse of the earlier structural design.
Give each head a location and an equipment reference. Count the poles and heads separately, then show exactly what each set is sharing or carrying independently. Name the optic and operating profile for both sides when they serve different areas. Follow the same identifiers from the parts list through commissioning.
Use the revised supply list to establish whether the existing enclosure or another one is supplied. Check the space, access for removal, connections, mounting and any protection or temperature requirements for that arrangement. If the installer supplies a local enclosure, identify who confirms the compatibility and how it will be checked at delivery.
Ask both options to use the same output and time schedule, installation conditions and service requirement. Share any minimum overnight lighting that the owner expects. Review usable energy, charging and recovery for the actual equipment. Then examine the physical changes and maintenance needed to support the claimed operating time.
List the affected positions and the old and new option IDs. Ask the supplier and contractor to align the same document and sample references, confirm whether any items have already been manufactured or packed, and identify what physical or settings changes must be checked. Save the final position list for inspection and later maintenance.
Review the exact controller input limits and the selected panel voltage and current across the site conditions. Then check the battery charge requirements and the approved wiring arrangement.
Keep the original code for the approved build. Give the changed kit a revision or distinct part code so receiving and service teams can identify the parts by carton, pole group and drawing.
Request the usable capacity and recharge profile under the actual lighting schedule. When harvest stays below the nightly load, the new pack will still lose charge day by day.
Send the site layout, the options you are comparing and any civil, battery or operating requirements already agreed.
WhatsApp us