


SL-PLUS Series Solar Street Light (Double Arm)
Choose the SL-PLUS double arm solar street light when one pole needs to light two directions. We help match the two lamps, energy components and mounting parts to your road layout. Send a photo or sketch and tell us what each side needs to illuminate; we can help you compare a complete pole system with equipment for existing poles.
Product Features
- Double-arm kit: designed for wider road sections and two-side coverage planning
- Height-based configurations: matched to the road layout and project drawing
- Pole fitment specs included: pole diameter and wall thickness coordinated on the project drawing
- Foundation interface defined: base plate and anchor template coordinated for installation
- Arm bracket defined: bracket diameter and arm length matched to configuration
- Controller: MPPT with over-charge and over-discharge protection
- System sizing range: compare lamp input power, combined nightly demand, panel quantities and battery watt-hours per pole
Double-Arm Configuration Reference
Use this checklist to compare the double-arm equipment offered for your site. We coordinate the pole, both arms, base plate and anchor set with your project drawing before production.
| Series | SL-PLUS (Solar Street Light Kit, Double Arm) |
| Mounting height | Selected for your road width, lamp positions, spacing and lighting requirement. Tell us the planned height or send an existing-pole drawing. |
| Pole diameters | Top and bottom diameters shown on the proposed pole drawing, with the connections for both arms and the solar supports. |
| Pole wall thickness | Specified with the pole material and structural design for the mounted equipment and local wind conditions. |
| Base plate | Plate dimensions, thickness and bolt-hole positions coordinated with the anchor template and foundation drawing. |
| Two-arm assembly | Connection diameter, arm reach, lamp mounting interface and cable route checked for both lighting directions. |
| Anchor set | Bolt quantity, diameter, embedment and projection specified with the base plate and project foundation design. |
| Controller | MPPT with over-charge and over-discharge protection |
| Two-Lamp Energy Configuration |
We select the two lamps for the road layout, then size the panel and battery for their combined nightly operating programme and local sunlight. Your quotation lists actual power per lamp, panel quantities and battery energy per pole.
Note: Final selection depends on mounting height, spacing intent, and local solar conditions.
|
Choose Two Light Directions Around The Site
The SL-PLUS double arm solar street light is worth considering when one pole needs to serve two lighting directions. That might mean two carriageways, a road and an adjoining path, or separate areas beside an access route. Start by showing us where the pole can stand and what each lamp must illuminate. A central pole and a roadside pole create different lighting problems, even when both carry two lamps. We help compare the layout before selecting the lamp heads and their aiming.
Send the installation country, road width, planned height and approximate spacing, together with the owner’s lighting requirement if available. Include entrances, bends and pedestrian areas that must remain visible. We review those needs with the relevant local lighting criteria and the proposed optics. If you have only photographs, that is enough to start the discussion. We can explain which dimensions to collect next, so you do not need to arrive with a complete engineering design before asking for help.
Make Every Set Easy To Count
In a double-arm quotation, the words lamp, pole and set need to describe the same equipment for everyone involved. A quantity of one pole does not explain the number of batteries, panels or controllers supplied with it. We help put the component quantities alongside the proposed arrangement, so your buyer can compare offers and your installer can check the delivery. Ask for lamp quantities and actual input power per lamp, together with the combined load for each pole.
Tell us whether you need complete new poles or equipment for poles supplied locally. Then identify the two luminaires, arm assembly, panel supports, energy components, connecting cables and mounting hardware in the quotation. Record any locally supplied parts separately, including foundation construction and site wiring where applicable. This is particularly useful when a BOQ contains both new double-arm poles and existing poles to be refurbished: the old poles should not accidentally be counted as new supply, or their lamps counted twice.
Check What Your Quotation Includes
- Luminaires
- List each lamp, actual input power and selected optic; show quantities per pole.
- Energy components
- List panel quantities and power, battery voltage and watt-hours, and controller arrangement for the agreed operating schedule.
- Mounting equipment
- Identify pole, two-arm assembly, panel and battery supports, brackets, cables and anchor hardware included in the quotation.
- Local work and options
- Identify existing equipment, foundation construction, installation, cleaning equipment and spares separately.
Installation Support

Check The Pole And Both Arms Before Ordering
Two arms introduce mounting details that a photograph of the lamp alone cannot resolve. For existing poles, send close-up pictures of the pole top, both arm connections, panel support and base plate. A drawing or measured sketch should show the mounting diameters, arm reach, bolt positions and cable route. We use those details to identify the brackets and adaptors your installer will need, rather than assuming that a similar-looking connection will fit.
The structure review should consider the lamps, panels, battery mounting and supports together with local wind conditions and the existing foundation. A height-based reference table helps organise the discussion, but it does not replace the project drawing or structural assessment. Tell us about corrosion, damage, restricted maintenance access and any limits on adding equipment to the pole. We help prepare the supplied-equipment dimensions for coordination with the site team, so interfaces can be checked before production and before the installation crew starts work.
Plan Access For Cleaning And Maintenance
For a split system, panel positioning and maintenance access deserve attention alongside the lighting result. Check whether either arm, nearby trees or adjacent structures could shade the panels. Consider where technicians will reach the battery enclosure, controllers and cable connections, and how they will isolate the equipment for service. Share site photographs and any restrictions on lifting equipment or working over traffic. We can discuss the mounting arrangement with your team while these choices are still easy to coordinate.
Dust protection is also a practical maintenance question. A panel described as having a dust-resistant surface should not automatically be treated as a self-cleaning installation. If cleaning equipment or a particular cleaning method is required, describe it in the enquiry so its interfaces and supply can be discussed explicitly. Agree a suitable inspection and cleaning approach for the local environment. Keeping the panel accessible helps the maintenance team address soiling and shading instead of mistaking every reduction in nightly operation for a battery fault.
Optics Options (Type II / Type III / Type IV)
Review Both Lamps In The Lighting Calculation
Choose the optics for the areas each arm serves, then review the two lamps together in the road layout. The bright area directly below a pole does not show whether the far road edge, the space between poles or a pedestrian route receives useful light. Tell us which of those areas matters to the owner. We help organise the mounting positions, arm reach, aiming and lamp output for a lighting review using the corresponding IES or LDT files.
A DIALux or Relux calculation should use the actual site geometry and the selected luminaire settings. If the two sides have different uses, discuss whether they need different distributions or operating schedules. Review minimum illuminance and uniformity alongside the average, and consider glare or spill towards neighbouring properties. If dimming is planned, check the relevant reduced-output stage as well. This gives your team a clearer basis for comparing a double-arm arrangement with separate single-arm poles, rather than assuming that twice the lamp count guarantees the desired coverage.
Size The Energy System For The Combined Night
Ask first whether both lamps run for the same hours and at the same output. Two luminaires operating all night create a different energy requirement from two lamps that dim after the busy period. We review each lamp’s operating programme and combine the nightly demand before discussing panel and battery sizing. Share the project location, seasonal sunlight, shading and the owner’s cloudy-weather requirement. Distinguish normal nightly operation from reserve operation during poor sunlight, including the minimum useful light required during that reserve period.
Compare battery energy in watt-hours as well as voltage and amp-hours, and make clear whether a figure describes one battery or the whole pole. The same applies to solar-panel power and controller quantities. We help organise those values on a consistent basis so a larger-looking number does not conceal a different supply arrangement. If a tender configuration needs adjustment, we can explain the proposed change for your submission. Your team’s agreement to review an option is followed by the owner’s or consultant’s approval where the project requires it.
Packaging & Shipping
Approve A Sample That Represents Your Order
Before production, agree the proposed lamps, energy components, arm connections and supplied accessories with your team. A representative sample and its component list give the buyer a practical reference for checking the batch. For a double-arm system, record how the two lamps connect and operate, not just the appearance of one lamp head. If the owner needs to approve the sample, include that review in the procurement schedule and keep the approved drawings and component details together.
We discuss any proposed component replacement with the customer before using it, including owner approval where applicable. This makes it easier to explain a change in battery, controller, connector or mounting part while the order is being prepared. For a tender, send the required document list and format early. We can help prepare the relevant quotation, datasheet, drawing and supplied-equipment information for review. Keeping those documents aligned with the selected configuration helps your team answer technical questions and check that production follows the agreed order.
Make Receiving And Later Acceptance Easier
Agree spare parts and their quantities before dispatch, focusing on the items that matter for the selected equipment and local maintenance arrangements. Record lamp versions, battery voltage, controller settings and connector details so technicians can identify the right replacement. For two lamps on one pole, explain which components serve each lamp and which are shared in the agreed design. This helps the maintenance team understand the system instead of guessing from the outside of the enclosure.
Packaging and handover information should help your team count the equipment and match it to the installation plan. Identify parts packed separately, locally supplied items and any accessories allocated per pole. We help organise packing lists, package labels and the relevant installation and technical information around the agreed supply. Keep those records with the approved sample reference for receiving checks, future servicing and the owner’s later acceptance or audit. For project buyers, clear records support the work that continues after delivery, including answering questions when the installation has been operating for several years.
Project Examples & Quality Checks


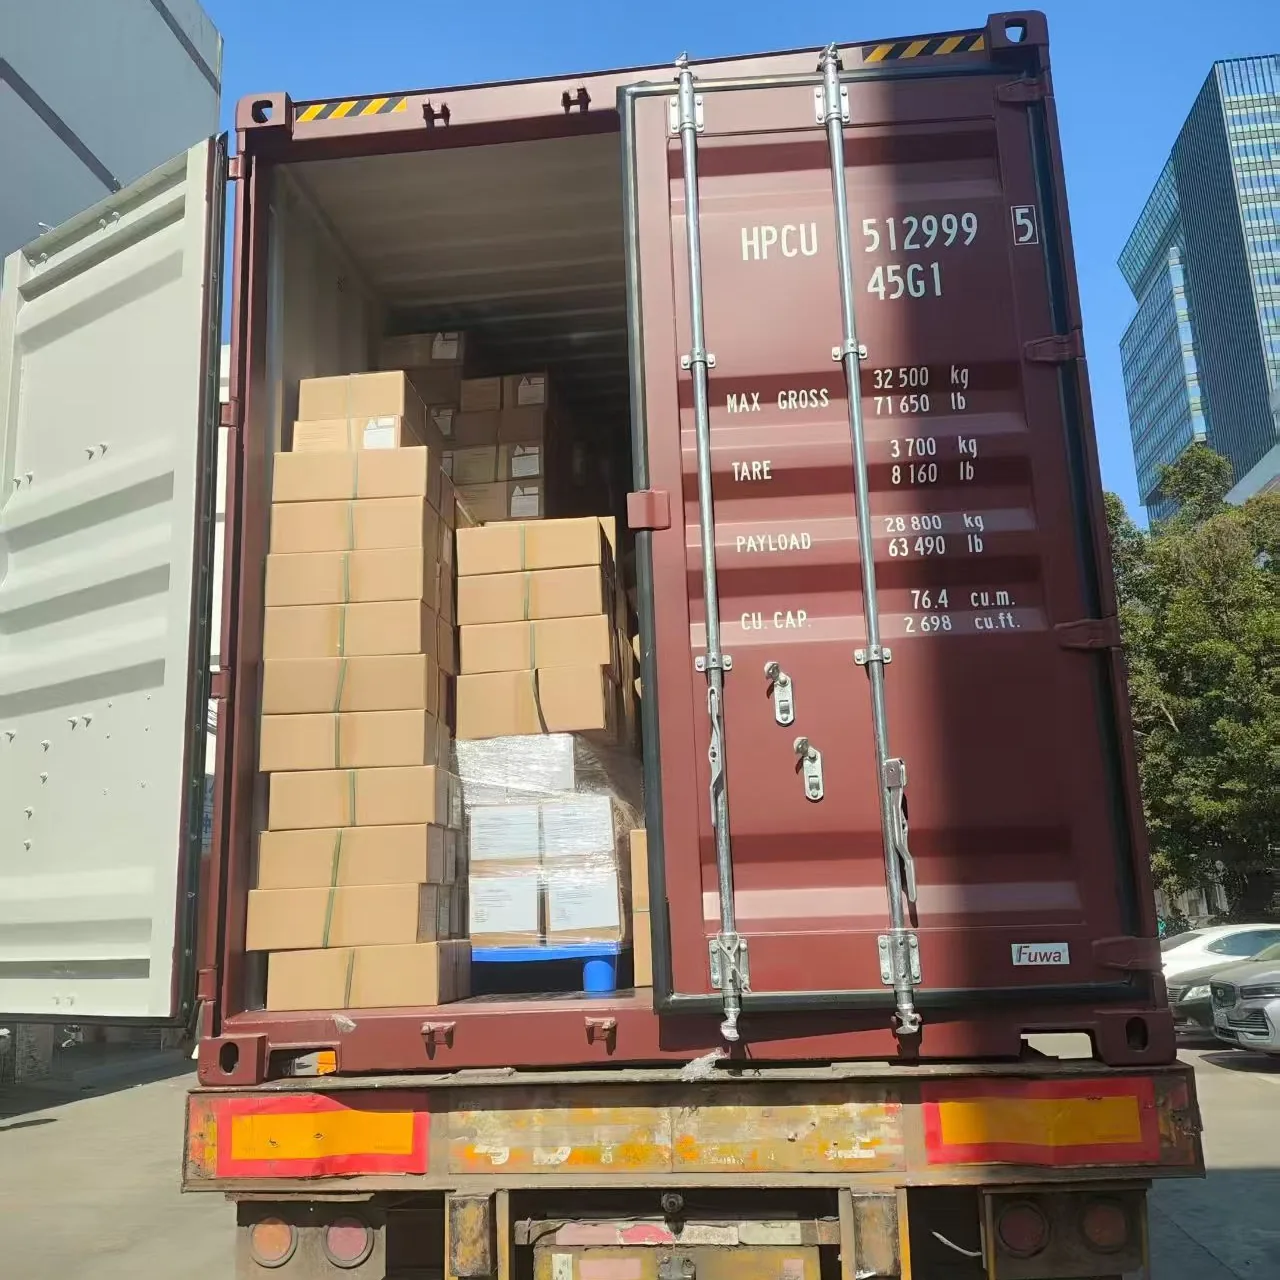
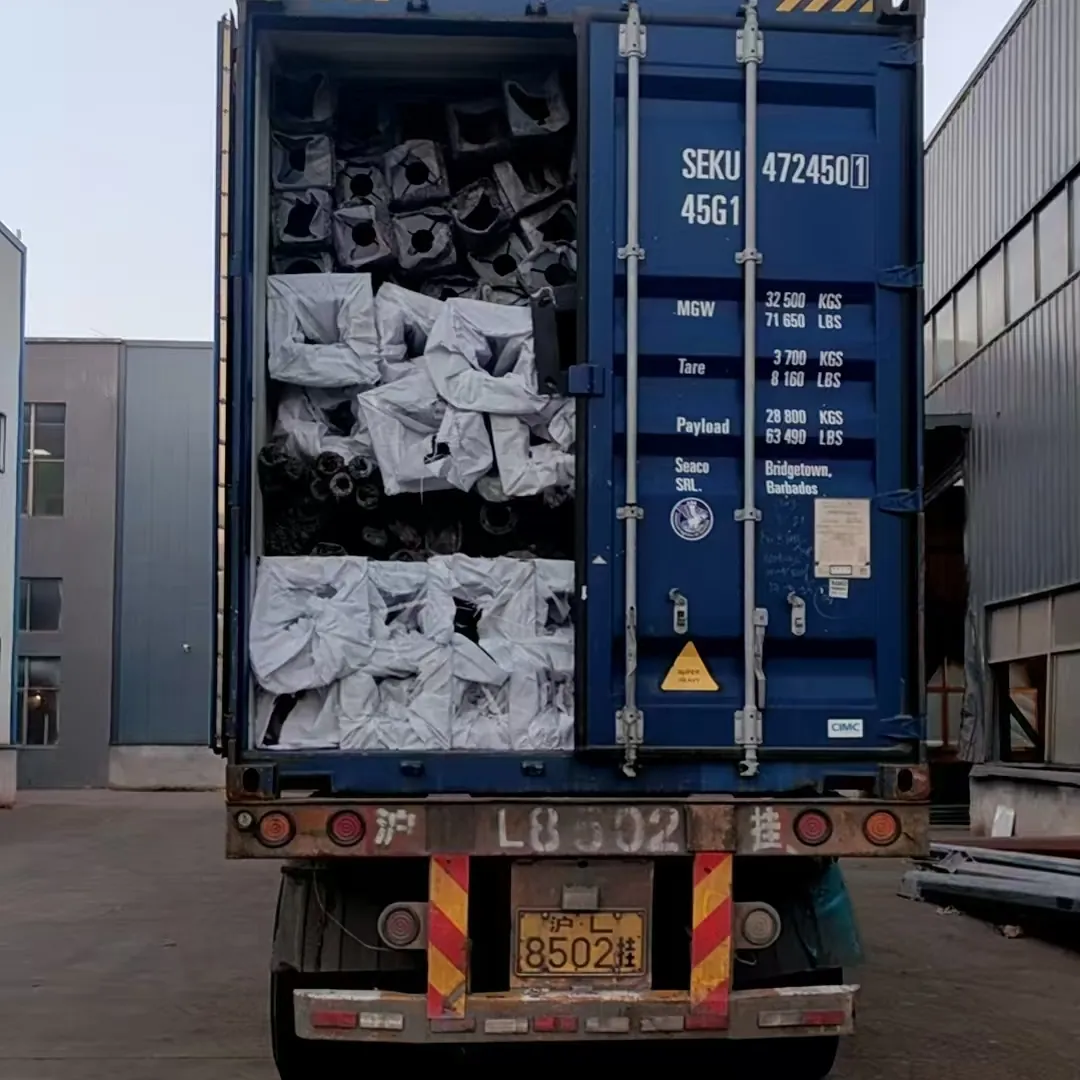
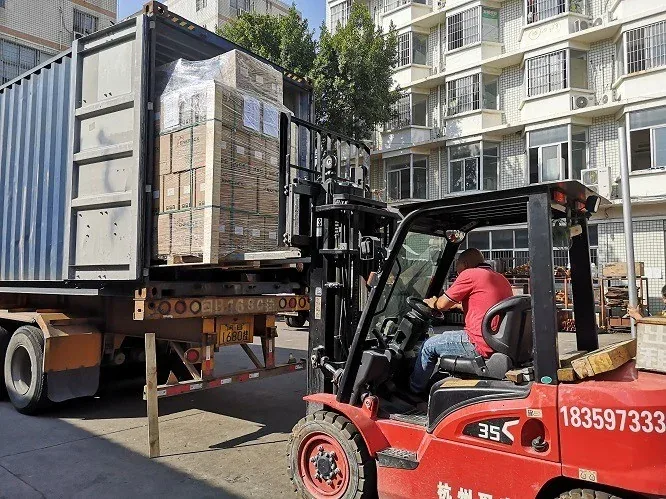
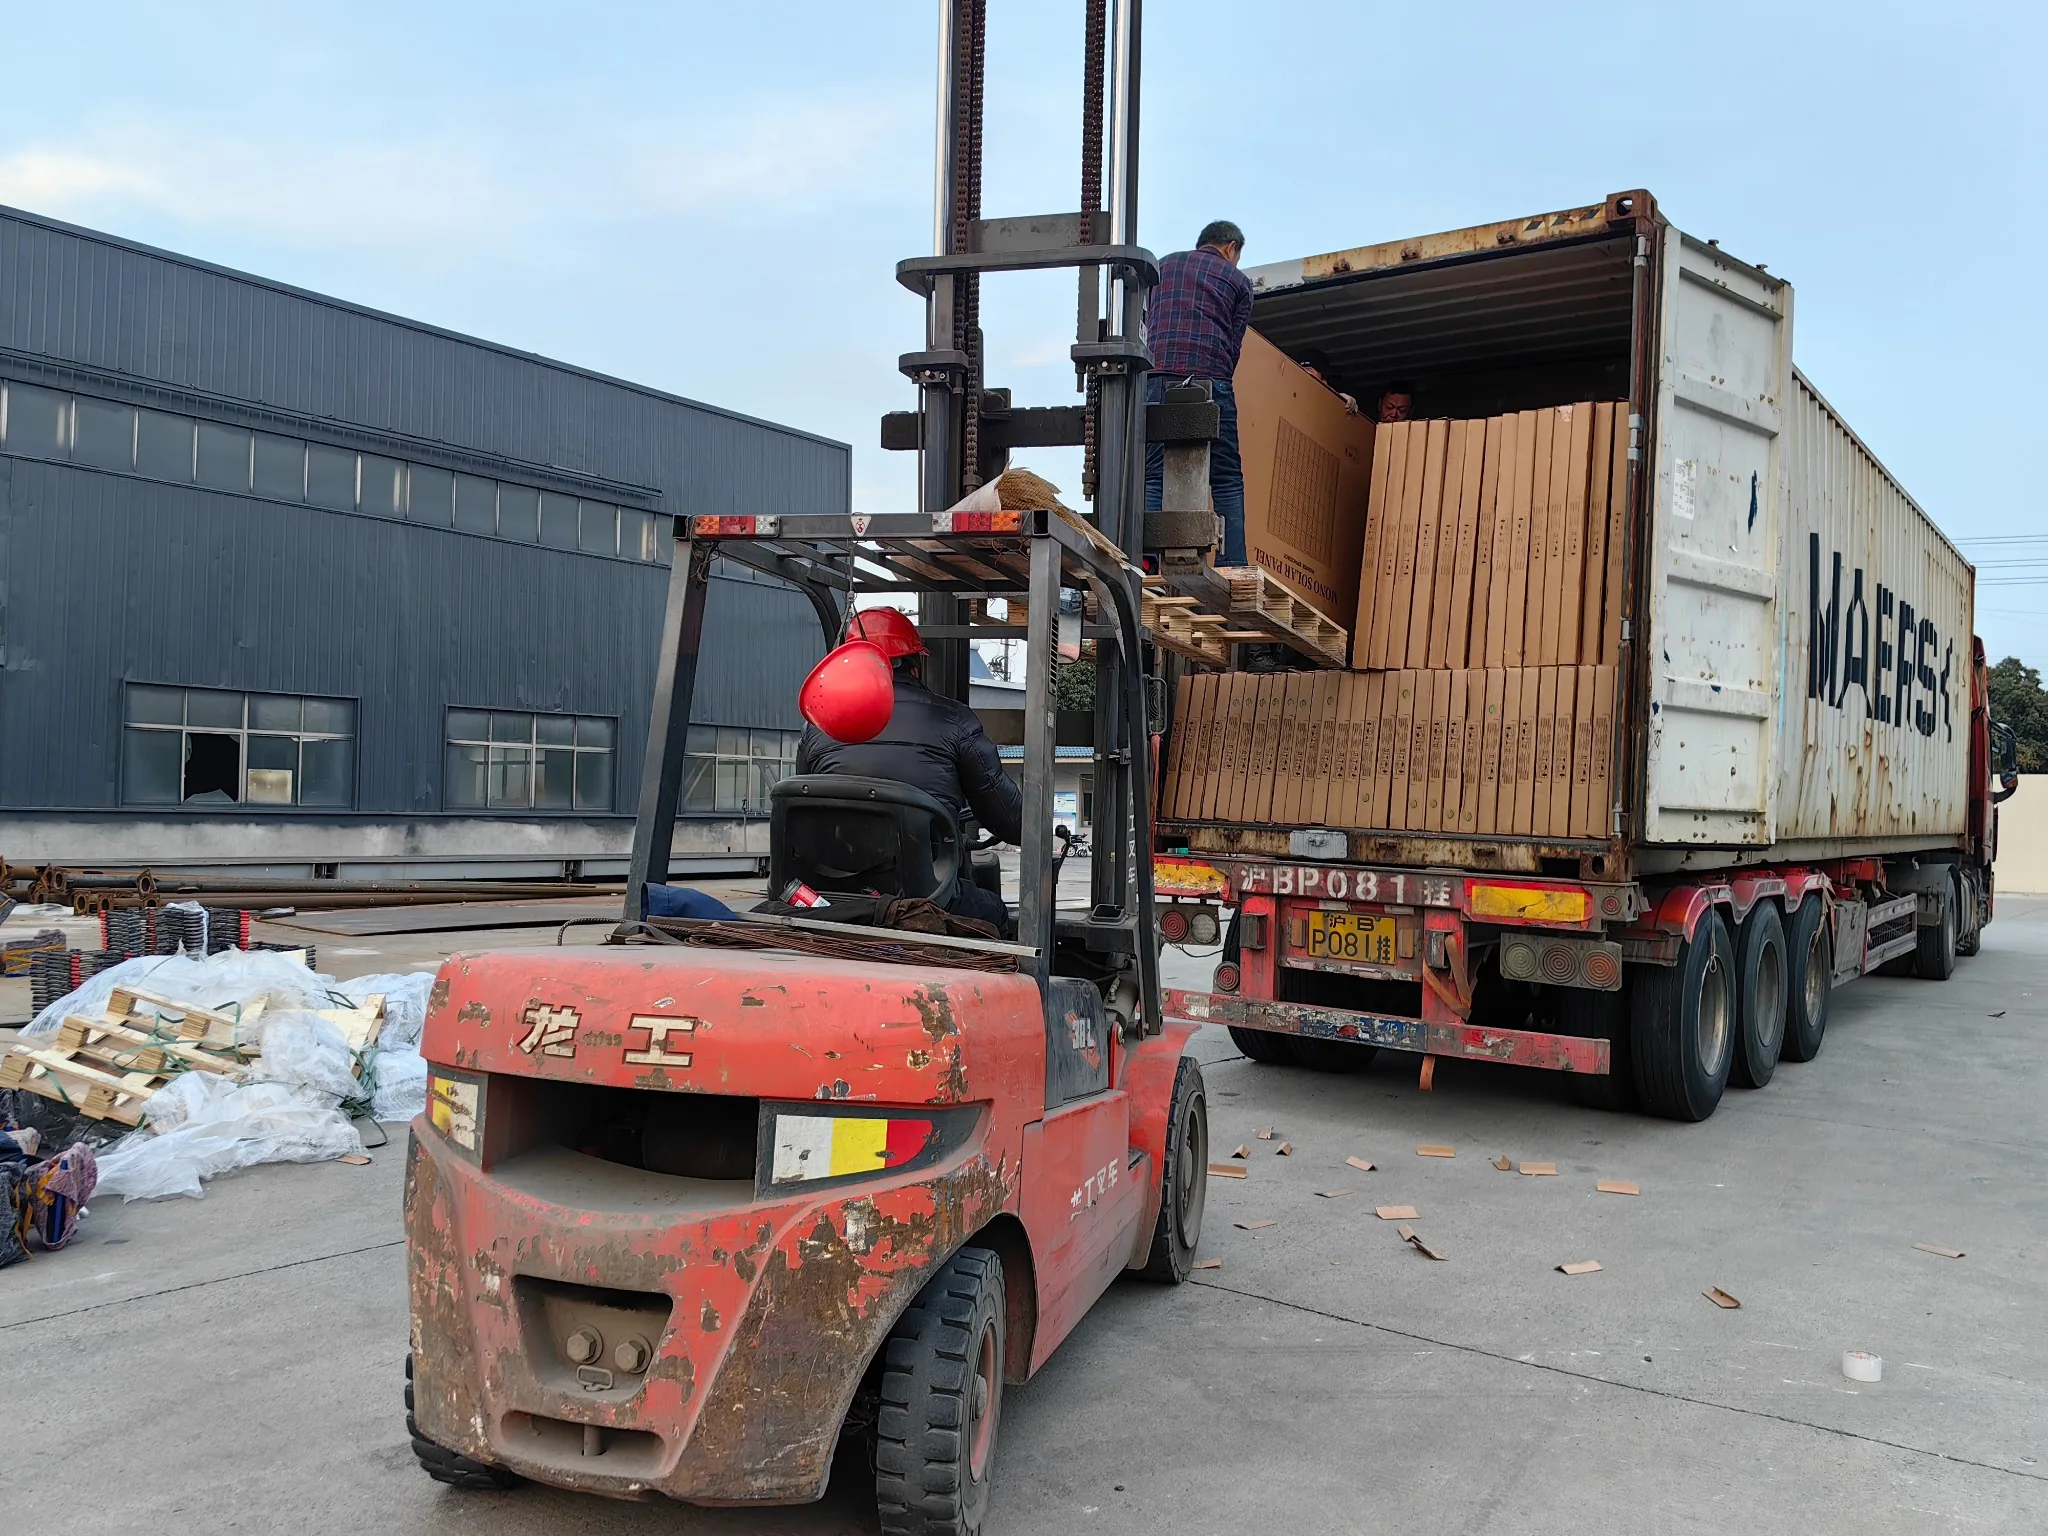
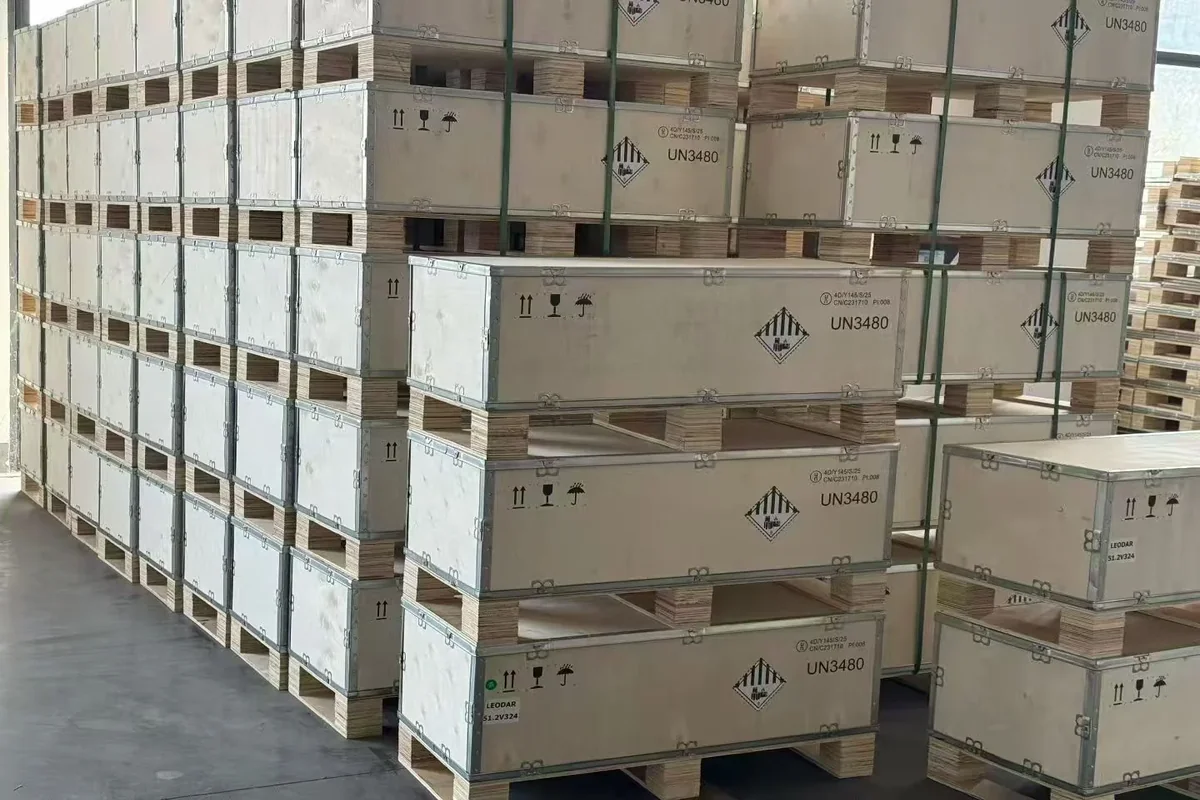
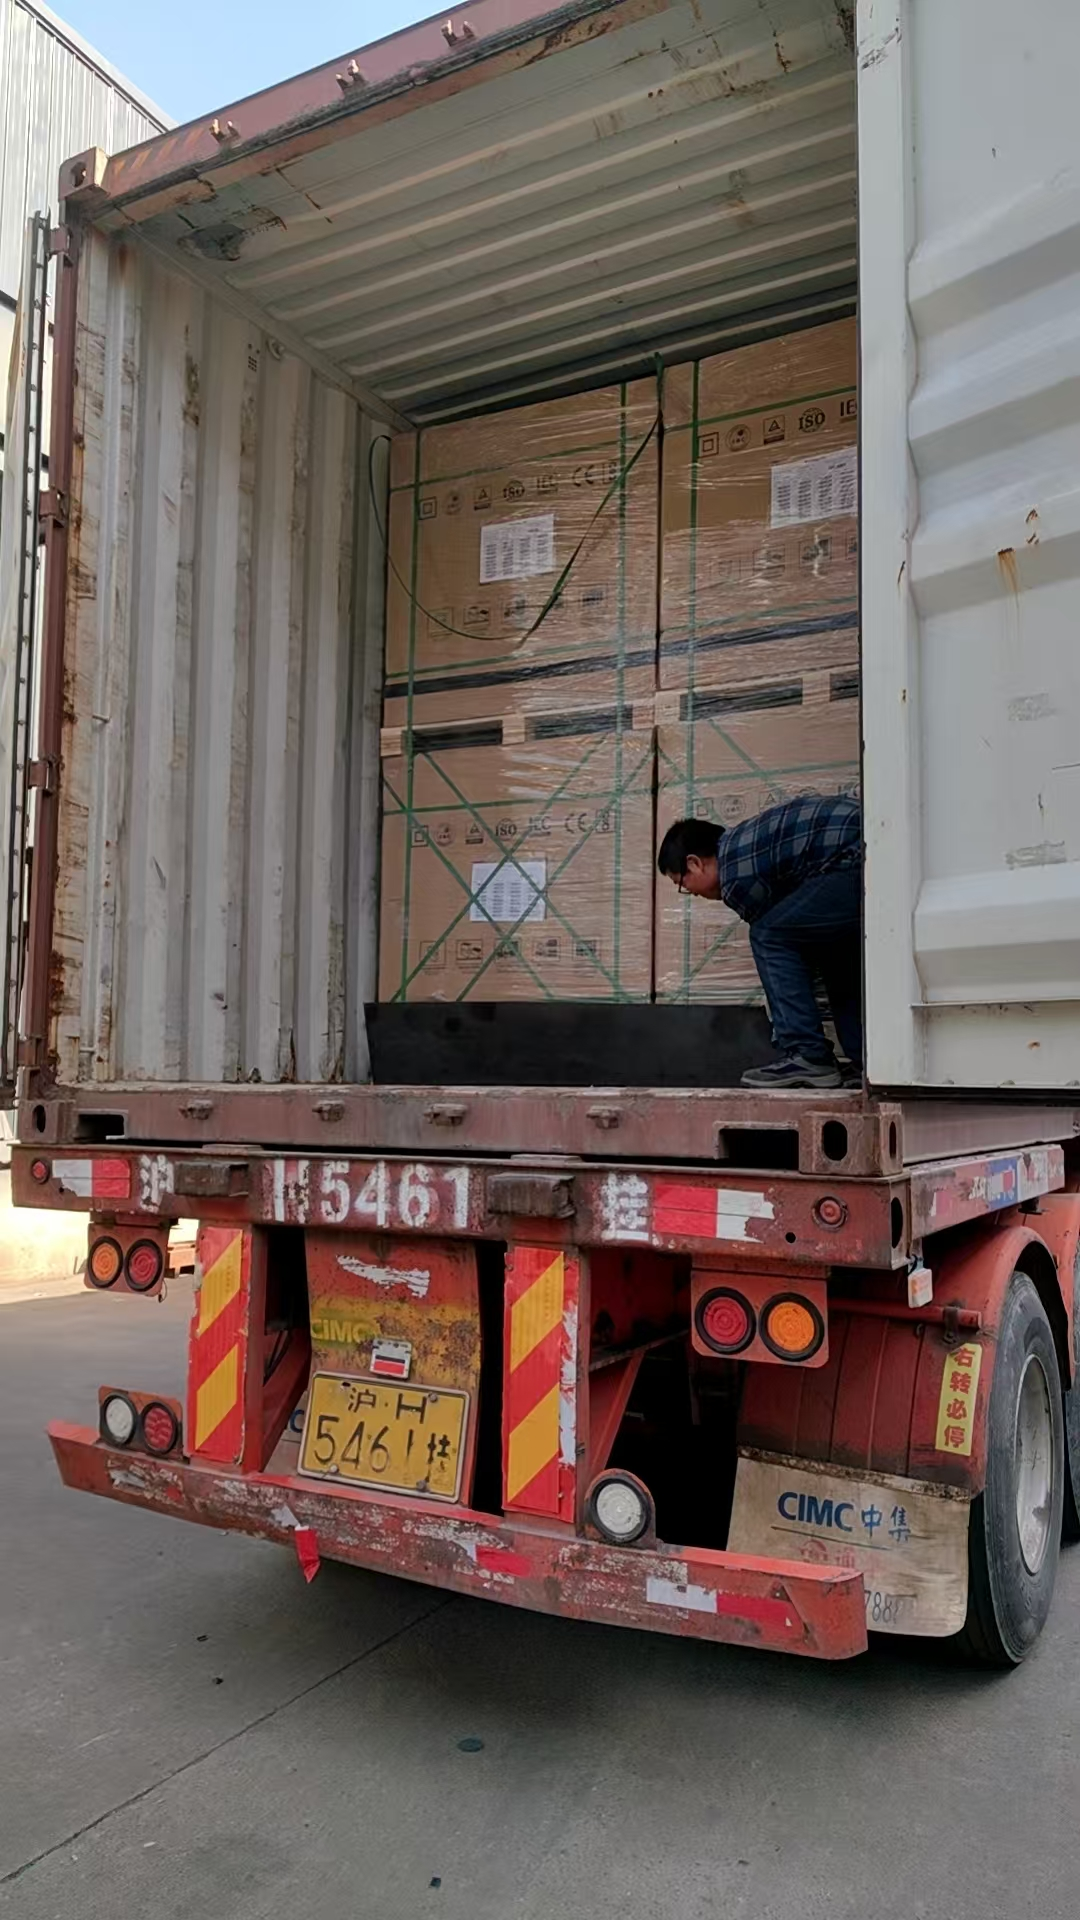
See how we check components, assembly and packing before dispatch.

Contact Engineering Team
Share constraints and receive a solution-ready response.

Markets & Deployment Conditions
Typical constraints by region—coastal, hot, dusty, and heavy-rain environments.
Frequently Asked Questions
How do I choose the right mounting height for my road? +
What pole and foundation specs are included to avoid mismatch? +
Does the kit include arm brackets and anchor bolts? +
What does the MPPT controller protection cover? +
Can I request packing details and shipping documents by configuration? +
Plan Your Double-Arm Installation
Start With A Photo Or Road Sketch
Tell us what each lamp needs to light and whether you need poles. We help review the layout, combined nightly demand and mounting parts. Use the three fields beside this message to start; you can send drawings and tender details when we follow up.
- Linrui Business Plaza, Huangdao District, Qingdao,China
- 0532-83978013
- 0532-83978023
- 0086-18653218098
- info@sunlurio.com
- Mon - Fri: 9:00am - 6:00pm