
Quick Answer
Solar street lighting acceptance should not start only after installation is finished. For EPC contractors, municipal buyers, consultants, and project owners, acceptance should verify whether the delivered solar street lights match the approved BOQ, datasheets, drawings, controller profile, site installation requirements, and handover documents.
A proper handover checklist should review pre-shipment documents, packing records, product configuration, pole and bracket installation, solar panel orientation, battery and controller connection, lighting operation, dimming profile, site photos, O&M documents, spare parts, warranty path, and maintenance responsibility.
The goal is not only to confirm that the lights turn on. The goal is to make sure the project owner receives a clear document pack and enough technical evidence for operation, maintenance, warranty review, and future replacement.
Project Review Summary
| Item | Project Review Point |
|---|---|
| Main topic | Solar street lighting acceptance and handover checklist |
| Best-fit buyers | EPC contractors, municipal owners, government projects, consultants, distributors, and donor-funded project teams |
| Best-fit projects | Solar street lighting projects, municipal roads, village roads, campuses, industrial roads, parking areas, and public infrastructure projects |
| Main purpose | Confirm product configuration, installation quality, lighting performance, and O&M handover evidence |
| Key documents | BOQ, datasheets, drawings, IES/LDT files, DIALux report if required, packing list, installation photos, controller settings, and warranty path |
| Main risk | Accepting the project visually without document evidence, pole records, controller records, or O&M files |
| Common mistake | Treating acceptance as a final-night lighting check instead of a full project handover process |
| Recommended timing | Prepare the checklist before shipment, update it during installation, and finalize it before handover |
Who This Checklist Is For
This checklist is written for project teams that need a clear acceptance and handover process for solar street lighting projects.
It is especially useful for:
- EPC contractors preparing site acceptance documents.
- Municipal owners checking delivered road lighting assets.
- Engineering consultants reviewing installation and performance.
- Government or donor-funded project teams requiring transparent project records.
- Distributors coordinating supplier documents with local installation teams.
- Maintenance teams taking over the project after handover.
- Tender teams preparing project documentation requirements before procurement.
For small projects, the checklist can be simplified. For municipal, government, or EPC projects, the checklist should be more complete because future warranty claims, maintenance decisions, and dispute resolution often depend on handover records.
What Should Be Accepted in a Solar Street Lighting Project?
Solar street lighting acceptance should cover more than lamp operation. A complete review should include five levels.
| Acceptance Level | Main Question | Typical Evidence |
|---|---|---|
| Document acceptance | Does the supplied configuration match the approved BOQ and technical file? | BOQ, datasheets, drawings, certificates, IES/LDT files, DIALux report if required |
| Shipment acceptance | Did the delivered goods match the order quantity and configuration? | Packing list, shipment photos, quantity record, accessory record |
| Installation acceptance | Was the system installed according to project requirements? | Site inspection form, pole photos, panel orientation photos, wiring photos |
| Performance acceptance | Does the lighting behavior match the agreed operating profile? | Night test, dimming profile record, controller setting record, issue log |
| Handover acceptance | Can the owner operate and maintain the system after delivery? | O&M file, troubleshooting guide, spare parts list, warranty contact path |
A project may pass one level but fail another. For example, the delivered product may match the BOQ, but the installation may still have panel shading, wrong luminaire direction, inconsistent controller settings, or incomplete handover records.
Acceptance Should Start Before Shipment
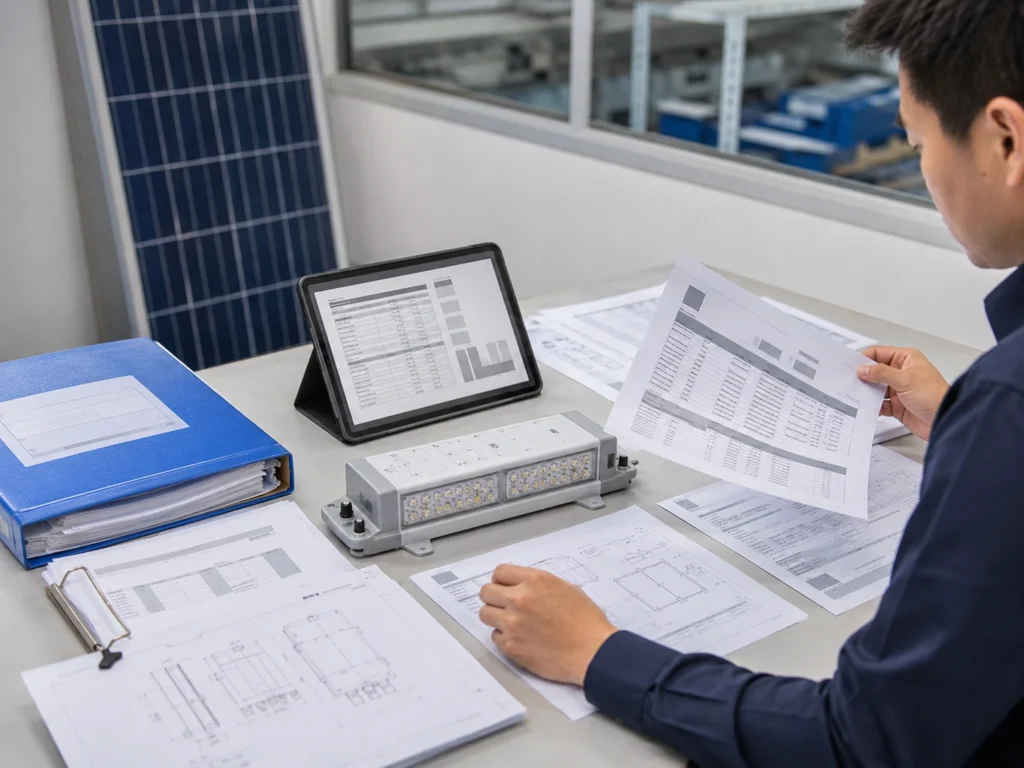
A common problem is that project teams wait until installation is finished before asking for acceptance documents. This creates avoidable confusion.
Before shipment, the project team should already confirm:
- Final product model.
- Solar panel capacity.
- Battery type and capacity.
- Controller type.
- Luminaire power and optic.
- Pole height and bracket type.
- Quantity and spare parts.
- Packing list structure.
- Datasheets and drawings.
- IES/LDT files if lighting simulation is required.
- DIALux report if included in the tender.
- Controller profile or dimming schedule.
- Warranty terms.
- Installation responsibility.
- Handover document requirements.
This prevents the handover stage from becoming a late argument about what was ordered, what was delivered, and what documents should have been included.
Pre-Shipment Document Checklist
| Document | Acceptance Purpose | Check Before Shipment |
|---|---|---|
| Final quotation or contract BOQ | Confirms the approved item list and quantities | Model, quantity, configuration, accessories, and project scope |
| Product datasheets | Confirms lamp, panel, battery, controller, pole, and bracket details | Technical configuration matches approved project file |
| Packing list | Supports delivery and quantity verification | Carton count, pole parts, brackets, accessories, and spare parts |
| IES/LDT files | Preserves the lighting simulation basis | File version matches the selected fixture and optic |
| DIALux report, if required | Confirms layout and lighting assumptions | Road width, pole spacing, mounting height, tilt, and optic direction |
| Drawings | Supports site preparation and installation | Pole drawing, bracket drawing, foundation drawing, wiring or assembly drawing |
| Certificate or compliance file | Supports tender and project documentation | Include only relevant and verifiable documents |
| Controller profile note | Records final operating logic | Timer mode, dimming stages, motion sensor mode, standby/boost settings if applicable |
| Warranty and support terms | Clarifies post-handover responsibility | Warranty period, contact path, required evidence for claims |
The pre-shipment document pack should be easy for the buyer, consultant, and site team to understand. It should not only be a collection of files. It should connect the purchased items with the delivered and installed system.
Shipment Acceptance Checklist

Shipment acceptance confirms whether the received goods match the approved order.
| Item | What to Check | Common Risk |
|---|---|---|
| Quantity | Number of lamps, panels, poles, brackets, controllers, batteries, accessories, and spare parts | Missing accessories or unclear packing split |
| Product model | Product version and configuration | Similar-looking products with different battery or controller configuration |
| Packing condition | Cartons, pallets, pole packaging, and accessories | Damage during transport or incomplete delivery evidence |
| Label or serial record | Product traceability | Difficult warranty review if no batch or serial record is kept |
| Spare parts | Agreed spare controllers, cables, brackets, connectors, or tools | Maintenance team has no replacement support after handover |
| Document pack | Datasheets, drawings, wiring notes, and project files | Site team installs products without approved technical documents |
For larger EPC or municipal projects, shipment acceptance should include photos and quantity records before goods are distributed to different installation areas.
Site Installation Inspection Checklist
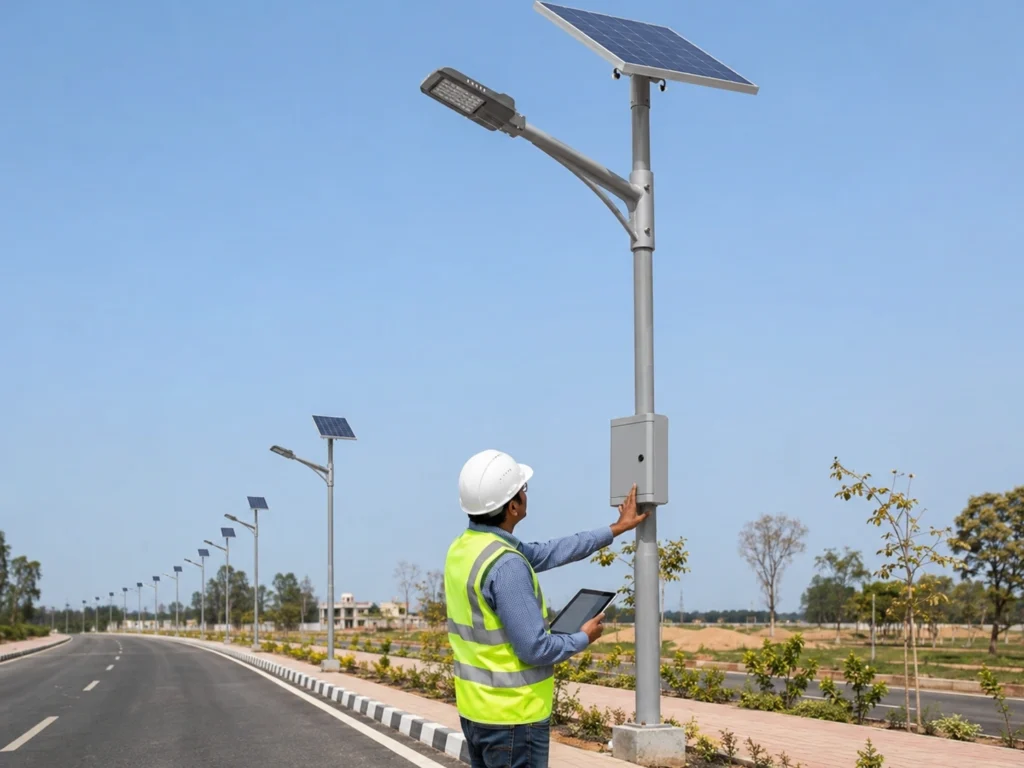
Site installation acceptance should verify that the system was installed according to project requirements and practical operating conditions.
| Inspection Item | What to Check | Common Issue |
|---|---|---|
| Pole foundation | Anchor bolt position, concrete condition, leveling, and foundation alignment | Misalignment, weak preparation, or unstable installation |
| Pole and bracket | Height, bracket direction, tightening, corrosion protection, and vertical alignment | Incorrect orientation, loose bolts, or wrong bracket direction |
| Solar panel | Tilt, orientation, shadow-free position, and fixing strength | Shading from trees, walls, signs, buildings, or nearby poles |
| Luminaire head | Optic direction, fixture angle, gasket condition, and mounting stability | Wrong tilt, poor road coverage, glare, or water ingress risk |
| Battery and controller | Correct connection, compartment condition, cable routing, and waterproof protection | Wrong polarity, loose wiring, unclear connection, or wet compartment |
| Cable and connectors | Cable glands, connector locking, sealing, and strain relief | Water ingress, loose connectors, cable damage, or repeated installation errors |
| Grounding and safety | Local requirement and installation quality | Missing or inconsistent grounding |
| Pole number record | Pole ID, location, and issue log | No traceable evidence when failures appear later |
| Site photos | Foundation, pole, panel, controller, wiring, and night lighting photos | No visual evidence for handover or dispute review |
Installation acceptance should not rely only on the installer saying the work is complete. It should be supported by pole-by-pole records and photos.
Lighting Performance Acceptance Items
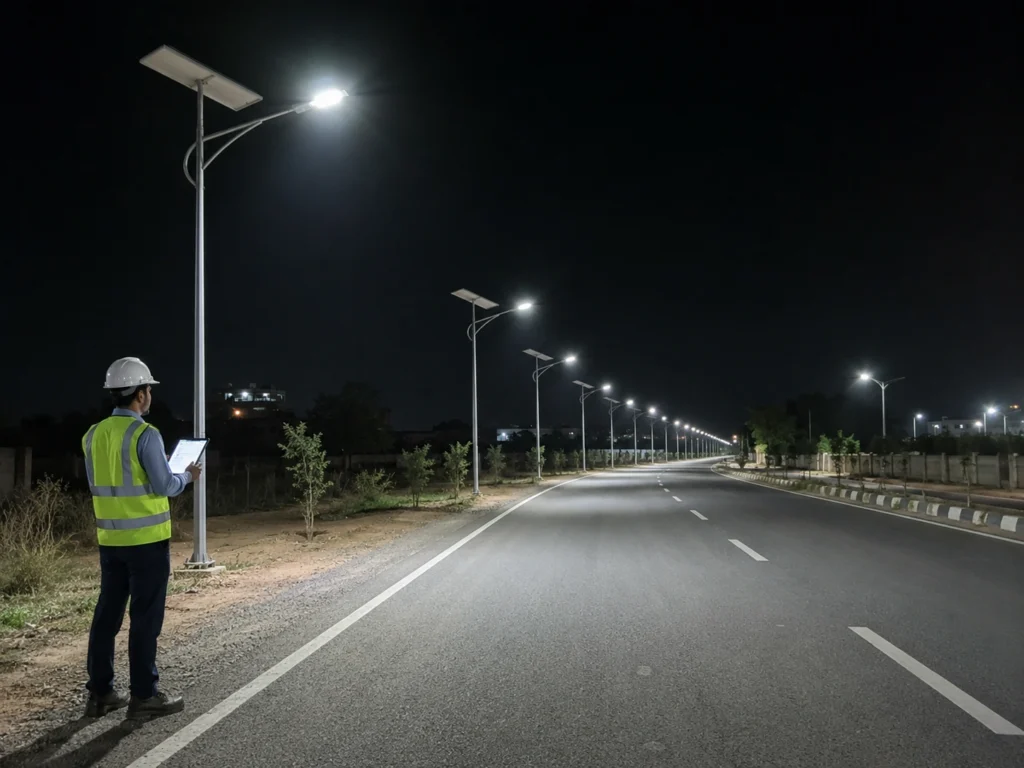
Lighting performance acceptance should confirm whether the installed system behaves according to the project design and operating profile.
| Item | Verification Method | Notes |
|---|---|---|
| Lamp operation | Night test or simulated darkness | Confirm that the lamp turns on correctly after dusk |
| Operating profile | Compare with approved timer, dimming, or motion logic | Avoid random pole-by-pole controller settings |
| Lighting coverage | Visual check plus layout reference | For formal projects, compare with DIALux assumptions if included |
| Uniformity concerns | Inspect dark zones, overlap, and road edge visibility | Check pole spacing, optic direction, fixture tilt, and mounting height |
| Autonomy expectation | Review configuration and operating profile | Do not verify rainy-season autonomy from one clear night only |
| Motion sensor behavior | Test standby, boost, delay time, and detection direction if applicable | Confirm that motion behavior matches the road use |
| Controller setting | Record timer mode, AUTO mode, dimming stages, and final profile | Helps prevent inconsistent future adjustments |
| Failure records | Separate product, installation, site, and setting issues | Supports warranty review and corrective action |
A light that turns on for one night does not automatically prove the project is fully accepted. The project team should check whether the operation matches the approved profile and whether the configuration can support the expected autonomy.
For profile review, see solar street light dimming profile and battery autonomy.
Acceptance by Visual Inspection Is Not Enough
Visual inspection is useful, but it should not be the only acceptance method for project-grade solar street lighting.
Visual checks may miss:
- Incorrect dimming profile.
- Inconsistent controller settings between poles.
- Weak rainy-season autonomy.
- Shaded panels.
- Poor battery recovery after cloudy days.
- Wrong optic direction.
- Excessive pole spacing.
- Water ingress risk.
- Missing handover documents.
- No pole number traceability.
- No warranty evidence.
For EPC and municipal projects, visual inspection should be combined with document records, site photos, controller profile records, and issue logs.
Product Issue or Installation Issue?
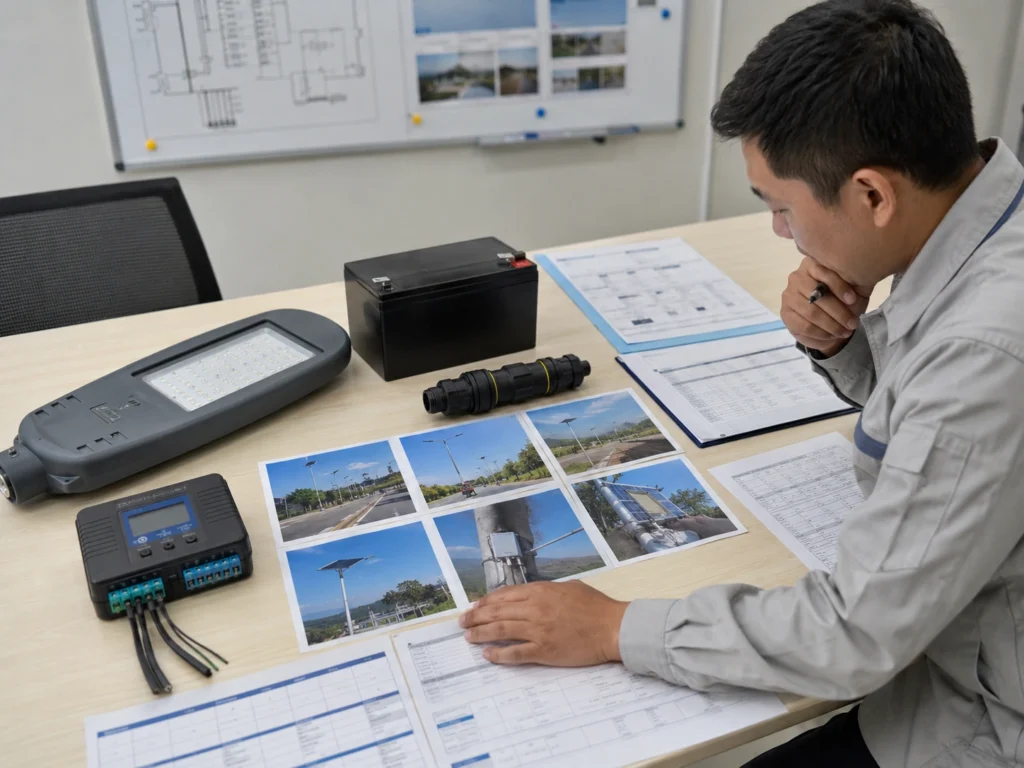
Acceptance should separate product issues from installation issues. This is important because the corrective action, warranty responsibility, and project handover record may be different.
| Symptom | First Check | Possible Cause | Suggested Action |
|---|---|---|---|
| Light does not turn on | Controller mode, battery connection, panel darkness simulation, wiring polarity | Low battery protection, wrong test condition, loose wiring, controller setting, or product fault | Record pole number, wiring photo, controller status, and test condition before warranty judgment |
| Light turns off early | Battery state, solar panel input, dimming profile, recent weather | Weak charging, aggressive profile, shading, dirty panel, or battery issue | Check panel condition, controller profile, and recent weather before replacing components |
| Dark zone on road | Pole spacing, fixture angle, optic direction, mounting height | Layout mismatch, wrong aiming, unsuitable optic, or blocked light path | Compare with layout assumptions and adjust angle or optic before blaming lamp output |
| Short runtime | Battery charge state, dimming profile, local weather, panel orientation | Undersized autonomy, shading, wrong profile, or battery issue | Review configuration assumptions and site photos; test over multiple nights if needed |
| Water ingress | Gasket, cable entry, enclosure, installation angle | Damaged seal, incorrect cable routing, loose cover, or fixture defect | Photograph ingress point and separate installation handling from product sealing issue |
| Uneven pole-by-pole operation | Controller settings and commissioning record | Different dimming profiles, sensor modes, wiring, or test mode | Standardize settings and keep a commissioning record by pole number |
| Several lamps fail in one area | Pole location, shading, rain history, controller profile, connector method | Shared site condition, installation method, autonomy shortage, or batch issue | Map affected pole numbers before replacing parts |
For group failure review, see multiple solar street lights failing in one area.
Do Not Reset Before Recording
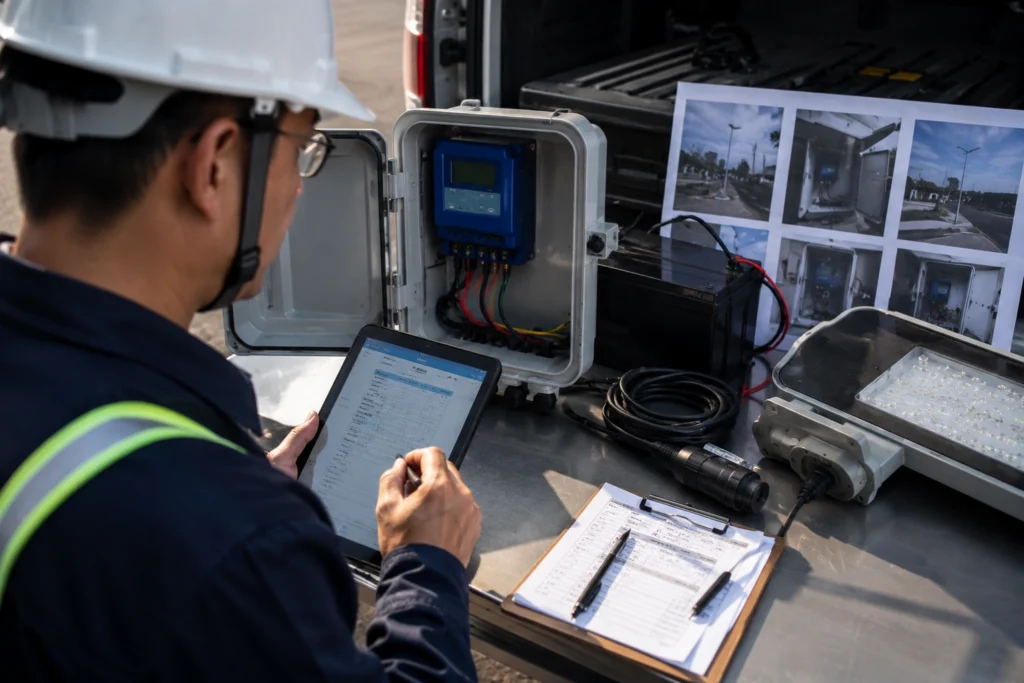
Before resetting controllers, replacing batteries, changing remote-control settings, or swapping parts, the site team should record the original condition.
Record:
- Pole number.
- Failure symptom.
- Whether the lamp is off, dim, flickering, or turning off early.
- Battery or controller status if visible.
- Wiring and connector photos.
- Solar panel condition.
- Weather before the issue appeared.
- Controller mode or profile if available.
- Whether nearby poles are normal.
The original failure status is often more useful than the status after reset. If the site team resets everything first, the project may lose important evidence for root-cause review.
O&M Handover Document Pack

The handover document pack should allow the owner and maintenance team to understand what was installed and how to maintain it.
| Handover Document | Why It Is Needed | Owner Benefit |
|---|---|---|
| Final approved datasheet | Defines the installed system | Easier future replacement and maintenance |
| As-built quantity list | Confirms installed assets | Clear project inventory |
| Installation photos | Provides traceable evidence | Faster dispute resolution and maintenance review |
| Pole number record | Connects issues with exact locations | Easier troubleshooting and warranty review |
| Controller setting note | Records operating mode and profile | Avoids inconsistent future adjustments |
| IES/LDT files | Preserves photometric basis | Supports future lighting review or replacement |
| DIALux report, if required | Preserves layout assumptions | Useful for consultant or owner review |
| Wiring or assembly drawings | Supports maintenance and replacement | Reduces installation confusion later |
| Spare parts list | Supports maintenance planning | Less downtime after handover |
| Troubleshooting guide | Helps local maintenance teams | Faster first-level diagnosis |
| Warranty and contact path | Clarifies support workflow | Clear responsibility after handover |
The O&M pack should be delivered in a practical format. A large file dump is less useful than a clear folder structure with final versions, project references, and maintenance notes.
Site Photo Record Checklist
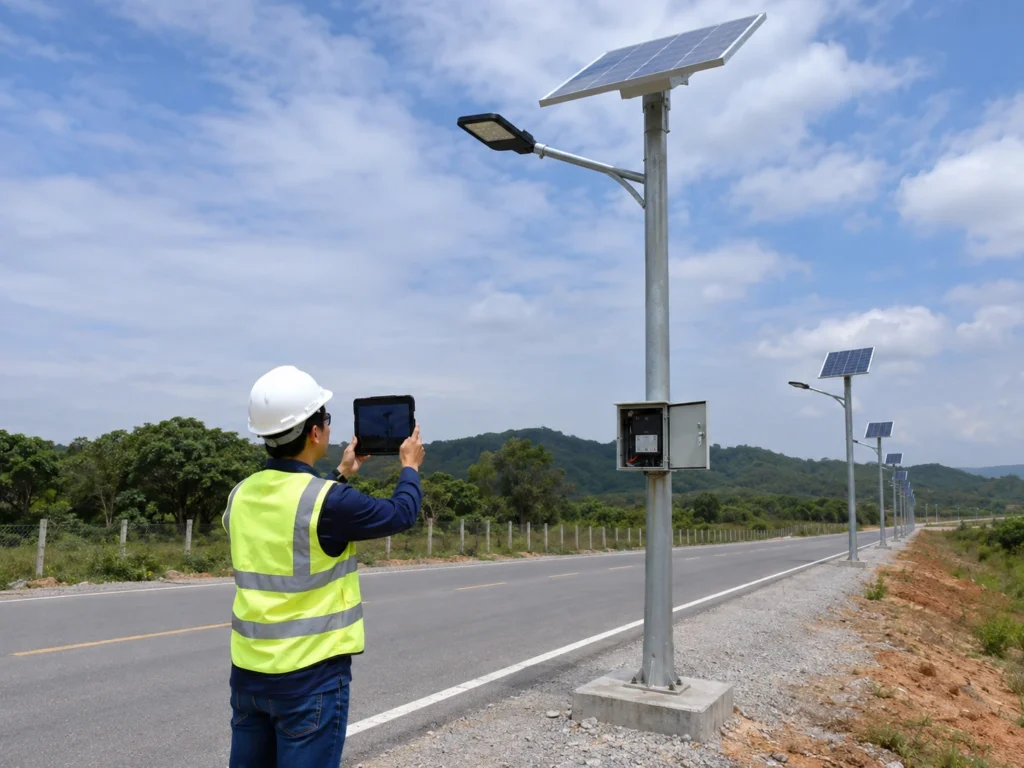
A practical acceptance file should include traceable photo records for each inspection area.
| Photo Record | What to Capture | Why It Matters |
|---|---|---|
| Pole number photo | Pole ID or site reference | Connects future issues with exact location |
| GPS or location record | Map point or road section | Helps maintenance teams find the pole later |
| Foundation photo | Anchor bolts, leveling, concrete condition | Supports structural and installation review |
| Panel orientation photo | Tilt, direction, and shading condition | Supports charging and autonomy review |
| Luminaire direction photo | Fixture angle and road coverage direction | Supports lighting performance review |
| Wiring/control box photo | Battery, controller, connectors, cable glands | Supports troubleshooting and warranty review |
| Night lighting photo | Actual road lighting result after dark | Supports acceptance and owner confirmation |
| Issue log photo | Problem area or corrective action evidence | Supports close-out and dispute review |
For multi-pole troubleshooting, photo records are especially important because the team may need to compare failed poles with normal poles.
Common Acceptance Mistakes
| Mistake | Why It Matters | Better Practice |
|---|---|---|
| Accepting the project only because lights turn on | One-night operation does not prove profile, autonomy, or handover readiness | Check documents, installation, controller settings, and O&M records |
| No controller setting record | Future maintenance teams may change or lose the approved profile | Record timer mode, AUTO mode, motion mode, dimming stages, and final settings |
| No pole number record | Troubleshooting and warranty review become difficult | Record pole ID, location, installation photo, and issue status |
| No pre-shipment document review | Missing documents become a problem after installation | Confirm datasheets, drawings, packing list, IES/LDT files, and BOQ before shipment |
| No site photo records | Installation quality cannot be verified later | Keep foundation, panel, wiring, luminaire, and night lighting photos |
| Mixing product and installation issues | Warranty responsibility becomes unclear | Separate product, installation, site, and setting causes in the issue log |
| Ignoring rainy-season autonomy | Project may pass in clear weather but fail after cloudy days | Review profile, panel input, battery capacity, and weather margin |
| Not giving O&M files to the owner | The owner cannot maintain the system properly | Deliver final document pack with troubleshooting and contact path |
How Acceptance Supports Future Maintenance
A good handover process reduces maintenance confusion after the project is completed.
It helps the owner and maintenance team answer:
- Which model was installed?
- Which poles use the same configuration?
- What controller profile was approved?
- Which poles had installation issues?
- What spare parts are available?
- Who should be contacted for support?
- Which documents should be used for future replacement?
- What evidence is needed for warranty review?
- Which issues are product-related, installation-related, or site-related?
This is why acceptance and handover should be treated as part of project engineering, not only as administrative paperwork.
Related Solar Street Light Setup and Troubleshooting Guides
For project teams preparing solar street lighting acceptance and handover, these related guides may help review setup, testing, dimming profiles, rainy-season performance, multi-pole troubleshooting, and motion sensor behavior before final delivery.
- Basic remote control setup steps
- How to test solar street lights before pole installation
- Solar street light dimming profile and battery autonomy
- Why solar street lights stop working after cloudy or rainy days
- Multiple solar street lights failing in one area
- Motion sensor vs timer mode for solar street lights
- Engineering support for solar street lighting projects
Request an Acceptance & Handover Document Pack
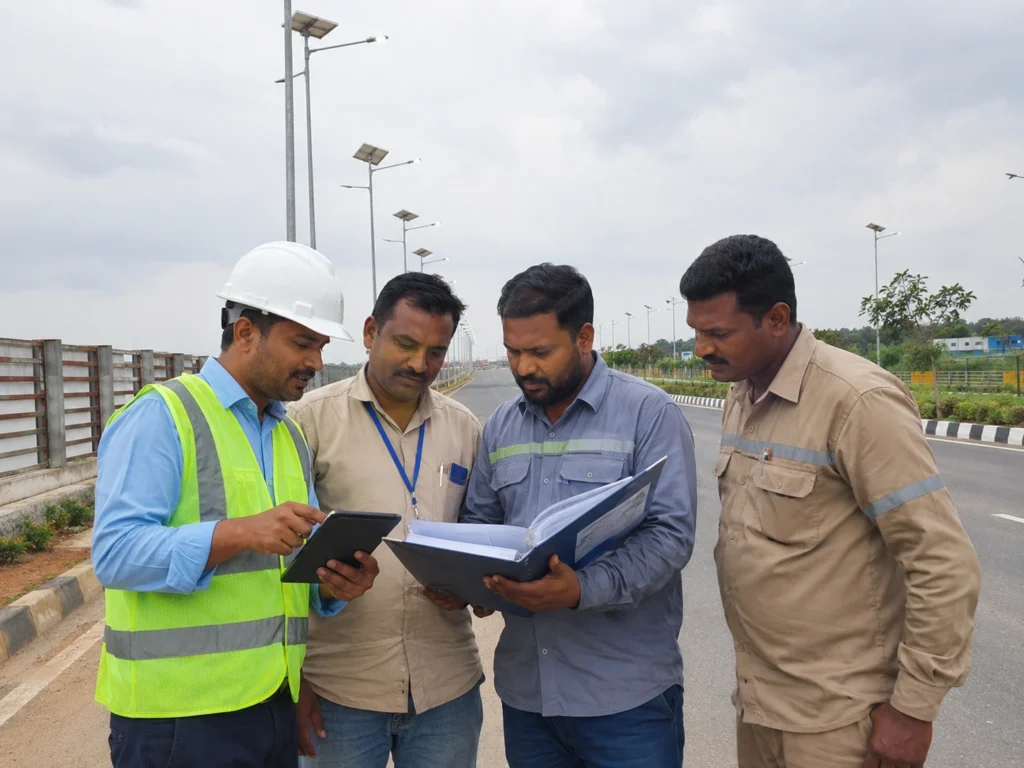
Sunlurio can help EPC contractors, municipal project teams, consultants, and distributors prepare solar street lighting acceptance and handover documents.
A project document pack can include:
- Product datasheets.
- BOQ matching notes.
- IES/LDT photometric files.
- DIALux simulation support if required.
- Drawings and installation notes.
- Controller profile notes.
- Packing list review.
- Pre-shipment checklist.
- Site inspection checklist.
- O&M handover document structure.
- Troubleshooting support notes.
- Warranty and support contact path.
For project review, you can share project location, road type, pole height, pole spacing, product configuration, controller profile, BOQ, installation responsibility, and required handover documents.
Sunlurio’s Engineering Support workflow can support project teams with technical documentation, lighting design review, datasheets, drawings, and project handover preparation.
FAQ
What should be included in a solar street lighting acceptance checklist?
A solar street lighting acceptance checklist should include BOQ review, product datasheets, packing list, drawings, IES/LDT files, DIALux report if required, installation inspection, controller settings, night operation test, site photos, O&M documents, spare parts list, and warranty contact path.
Should solar street lights be tested before shipment?
Yes. Pre-shipment checking should verify the product configuration, packing list, key documents, and project requirements before goods arrive on site. This helps reduce handover disputes and installation confusion.
Can solar street lighting performance be accepted by visual inspection only?
Visual inspection is useful, but it should not be the only method. For EPC and municipal projects, visual checks should be compared with project layout, controller settings, dimming profile, DIALux assumptions if required, and site installation records.
What should be checked first if a solar street light does not turn on after installation?
Check controller mode, battery connection, panel darkness simulation, wiring polarity, connector condition, and charge status before concluding that the product is defective.
What documents should the owner receive after handover?
The owner should receive final datasheets, as-built quantity list, installation photos, pole number record, controller setting notes, IES/LDT files, DIALux report if required, wiring or assembly drawings, troubleshooting guide, spare parts list, and warranty contact path.
Why is a controller setting record important during handover?
The controller setting record confirms the approved operating mode, timer schedule, dimming stages, motion sensor behavior, and final profile. Without it, different poles may be adjusted inconsistently during future maintenance.
Is an acceptance checklist needed for small solar street lighting projects?
Yes, but it can be shorter. Even small municipal, village, campus, or donor-funded projects benefit from clear quantity records, installation photos, controller settings, and O&M handover notes.
How can EPC teams separate product issues from installation issues?
EPC teams should record pole number, failure symptom, wiring photos, controller status, panel condition, installation photos, recent weather, and nearby pole comparison before deciding whether the issue is product-related, installation-related, site-related, or setting-related.
Should IES files and DIALux reports be kept after handover?
Yes. The owner, consultant, EPC contractor, and maintenance team should keep final IES/LDT files and DIALux reports if they were part of the project. These files help with future expansion, replacement, consultant review, and dispute resolution.
What is the main goal of solar street lighting handover?
The main goal is to make sure the owner receives a clear and traceable project file, not only installed lamps. A good handover pack supports operation, maintenance, warranty review, future replacement, and long-term project management.