Solar street lights seem simple—until you’re on-site, wind’s blowing, the crane’s late, and someone forgot the drill bits.
Commercial solar street-light installation requires approved drawings, a matched equipment BOM and safe commissioning procedures. This guide explains the buyer-side checks for contractors and site teams. It is not a universal wiring diagram, foundation design or substitute for Sunlurio’s model-specific installation SOP.
1. What to Bring Before You Even Think About Digging
We’ve seen it all—showing up without proper tools, missing brackets, wrong controller model. It slows down the job and makes everyone grumpy.
Don’t assume. Double-check your gear and know your components inside out.
1.1 Get Familiar with the Gear
| Component | What It Does |
|---|---|
| Solar Panel | Soaks up sunlight, feeds your battery |
| LED Fixture | Provides the actual lighting |
| Battery (Lithium/GEL) | Stores juice for night use |
| Pole & Mount Brackets | Holds everything together |
| Charge Controller | The brain—manages power, sensors, load control |
| Motion Sensor (opt.) | Saves energy when no one’s around |
Each part matters. One missing bolt or wrong wire? Whole system fails.
1.2 Tools That Save You from Regret
- Adjustable wrench (not one-size-fits-all)
- Cordless drill with sharp bits
- Safety gear—helmets, gloves, steel-toe boots
- Spirit level (feels overkill—until you see a crooked panel)
- Project-approved lifting equipment and a rigging plan based on pole weight, height, site access and local safety rules
- Multimeter
- Waterproof sealant (the good stuff, not hardware store leftovers)
We once had a tech try sealing a controller box with duct tape. It worked—for 2 days.
2. Site Survey: Walk It Like a Detective

This step separates the pros from the weekend warriors.
We always walk the site at different times of the day—looking for shadow creep, drainage issues, or that one tree that ruins everything at 2 PM.
2.1 Pick the Right Spot (or Pay Later)
- Avoid shade from 9 AM to 4 PM
- No low-lying areas with standing water
- Confirm module orientation and tilt from site coordinates, shading, mounting limits and the approved solar-energy calculation
- Check obstruction clearance and seasonal shading using a site survey; no universal distance applies
Real talk: I once placed a light too close to a telecom tower. Signal interference fried the motion sensor. Lesson learned.
2.2 Calculate Lighting (Don’t Just Wing It)
| Factor | Rule of Thumb |
|---|---|
| Pole height | 6–9 m for streets, 4–6 m for parks |
| Spacing | Determine spacing from the road geometry, mounting height, optics and a project-specific photometric calculation. |
| Lumen output | Select luminaire output and optics to meet maintained illuminance and uniformity requirements in the approved layout. |
| Beam angle | Check the LED spec sheet—don’t guess |
Use a simple lux calculator or simulator app. Saves money, avoids blind spots.
3. The Foundation: Strong Base, Strong System
The foundation or direct-embedment design must safely support the complete pole assembly, including wind and luminaire/PV loads. The approved structural and geotechnical documents—not the pole height alone—determine the required construction method.
Before installation, verify the structural calculation, soil assumptions, corrosion protection, excavation boundaries, anchor-bolt details and release-to-load requirements. Service life cannot be guaranteed from installation practices alone.
3.1 Dig and Pour Like You Mean It
| Foundation design input | Buyer / installer verification | Required project reference |
|---|---|---|
| Wind, pole and solar-panel loads | Check pole sections, bracket geometry and overturning resistance | Approved structural calculation and pole drawing |
| Soil and groundwater | Confirm soil bearing/lateral resistance, drainage and underground services | Project geotechnical report and site survey |
| Foundation / embedment type | Verify excavation, reinforcement, anchor bolts, concrete or engineered backfill as applicable | Approved foundation drawings and installation method |
| Concrete release and lifting | Confirm required strength and inspection before applying installation loads | Site quality plan and engineer’s approval |
Tips from the field:
- Use reinforcement, anchors or approved backfill only as specified on the project foundation drawings
- Use a bolt template so anchor bolts line up (we’ve forgotten it—it sucks)
- Allow concrete to attain the approved release-to-load strength; use the specified mix, curing conditions and site inspection records rather than a universal 48–72-hour rule
3.2 Prepping the Pole
- Bolt the bracket tightly—no “good enough” here
- Route wires cleanly—no spaghetti mess
- Use the specified IP-rated glands, gaskets and approved sealants without blocking designed drainage or ventilation
- Paint with anti-rust if near sea air
- Lift poles only under the approved rigging and installation plan using competent personnel and equipment suited to the actual load
4. Installing the Panel & LED Fixture

Here’s where precision pays off. One wrong tilt, and your light’s dead by midnight.
Use the approved PV orientation and tilt for the actual project. Review seasonal solar resource, obstructions, bracket geometry, wind exposure and cleaning access; latitude alone does not determine the best configuration.
4.1 Mounting the Panel
- Set the array azimuth per the approved site energy design and shading study
- Secure with stainless steel bolts
- Maintain model-specific airflow, weather sealing and bracket clearances shown in the installation drawings
- Verify open-circuit voltage and polarity only using the model-approved test method and safe isolation procedure; a higher voltage alone does not establish the best tilt angle
We once had a guy eyeball it. Came back a week later, 30% performance drop.
4.2 Setting Up the LED Light
- Mount at the project-approved pole height, outreach and aiming angle used in the IES/DIALux road-lighting calculation
- Angle downward slightly to reduce glare
- Make sure light spreads overlap
- Tighten every bolt—one came loose during a storm once, shattered the lens
Do a night walk after install—your eyes catch what drawings miss.
5. Wiring and Controller Setup
This is where people get lazy—and it’s where most problems begin.
Do not use wire colour as the sole connection reference. Confirm cable identification, connectors, polarity, controller terminals, fuse and earthing requirements against the exact delivered BOM and technically approved wiring drawing. Qualified personnel should follow the controller-specific safe isolation and connection procedure.
5.1 Wiring: Order Matters
- Verify PV input terminals, ratings, connectors and the approved module wiring diagram before work
- Verify battery polarity, voltage, BMS and overcurrent protection against the specified controller and pack
- Follow the manufacturer-approved connection and disconnection sequence for the exact controller model; no sequence is universal
Label wires if you’re installing in bulk. We’ve wired 60+ poles in a row—labeling saved us from madness.
5.2 Programming the Controller
- Program the controller for the specified battery chemistry, voltage, charge profile and BMS requirements using the approved SOP
- Set the agreed nightly dimming profile, operating hours and motion schedule from the project energy balance
- Confirm measured LED input power, controller load limits and driver compatibility with the offered datasheet
We had a unit dim to 10% because the controller defaulted to “eco mode.” Took two days to figure it out.
6. Testing: Don’t Leave Without It
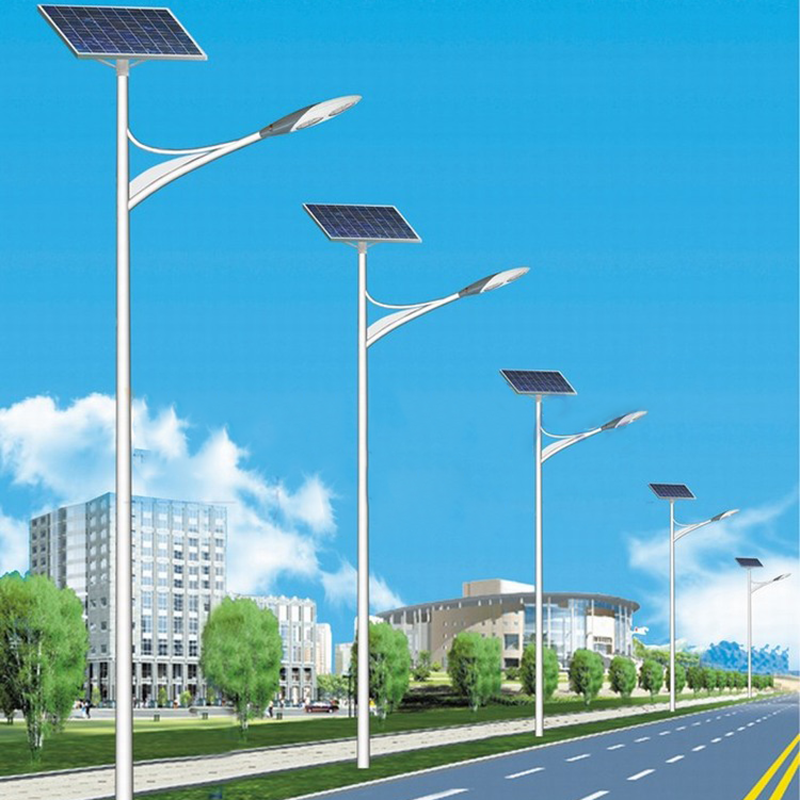
This is not a “flip the switch and go” moment. Test like your reputation depends on it—because it does.
What we always check:
- Check PV and battery readings against the exact model datasheet, test conditions and safe measuring procedure; no generic voltage range applies
- Use the controller’s approved night-simulation or commissioning mode; the expected response and delay are model-specific
- Verify controller status, protections, fault history and charge/load indications against the manufacturer’s code definitions
- Record the required functional and night-operation checks under the project commissioning plan; final acceptance belongs to the designated project authority
In Ghana once, we forgot to simulate night. Lights didn’t turn on. The client called us back two days later—not fun.
7. Final Operational & Maintenance Checklist
Think of this as your “don’t get called back next week” list.
| Task | When |
|---|---|
| Panel tilted and secure | Post-install |
| All bolts tightened | Post-install |
| Battery mounted and sealed | Post-install |
| Wiring neat and labeled | Post-install |
| Controller programmed & tested | Post-install |
| Clean panels | Every 3 months |
| Check battery voltage | Every 6–12 months |
| Walk-through inspection | Once a year |
Use a cloth and water to clean panels—no harsh brushes.
When to Call in the Pros
- Terrain is uneven or mountainous
- You’re installing 20+ lights
- Smart mesh controllers are involved
- It’s a high-profile government project
Don’t wing it—get experienced hands. We’ve been called to fix too many “cheap but wrong” installs.
✅ Final Thoughts
Street lights look simple from the outside. But behind every solid system is thoughtful planning, field experience, and someone who took the time to do it right.
Use this checklist alongside the model-specific Sunlurio installation SOP, controller wiring diagram and approved civil drawings. Confirm every requirement with the project engineer before energising or handing over the system.
FAQ
Q1: How long does installation take per light?
There is no universal duration. Estimate excavation, foundations or embedment, strength gain, lifting, electrical work and commissioning from the project drawings and site access plan.
Q2: Can I do this myself?
Commercial street-lighting foundations, lifting and DC wiring should be completed by appropriately qualified teams in accordance with the approved project design and local safety requirements.
Q3: What goes wrong most often?
Wiring reversed, panels not tilted, loose bolts, no night testing—we’ve made all those mistakes, so now you don’t have to.