
Quick Answer
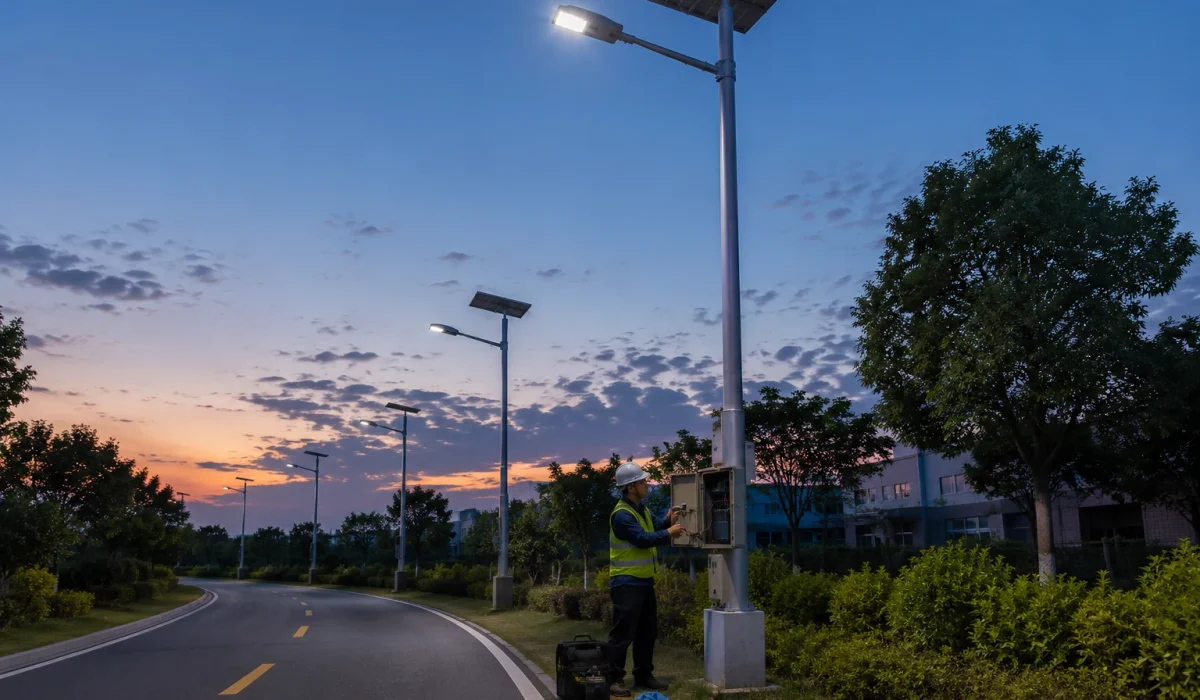
Quick Answer: Solar lights usually stop working because one part of the charging or lighting chain is no longer working correctly: the solar panel, battery, controller, sensor, wiring, or housing seal.
Start by checking whether the solar panel receives direct sunlight, whether the battery can hold charge, whether the sensor is blocked, and whether water has entered the housing.
If the light turns on briefly and shuts off, the battery is often weak. If it only fails after rain, check water ingress, cable seals, and controller housing. If many lights fail in the same area, the issue is usually related to system configuration, installation conditions, sunlight exposure, or battery capacity.
For commercial, municipal, or project lighting, repeated failures should not be solved by replacing one lamp at a time. The whole solar lighting system should be reviewed before ordering replacement parts.
Quick diagnostic checklist:
- Confirm the switch is on and the light has charged under direct sunlight.
- Clean the solar panel and check whether anything is shading it during the day.
- Cover the panel completely to test whether the sensor responds in darkness.
- Check the battery, wiring, terminals, and housing for loose contact, corrosion, or water.
- If several lights fail in the same area, review the system configuration and site conditions.
15+ years of experience in solar street lighting configuration, troubleshooting, project documentation, and outdoor lighting support.
Last reviewed: June 2026
Start Here: What Is Your Solar Light Doing?
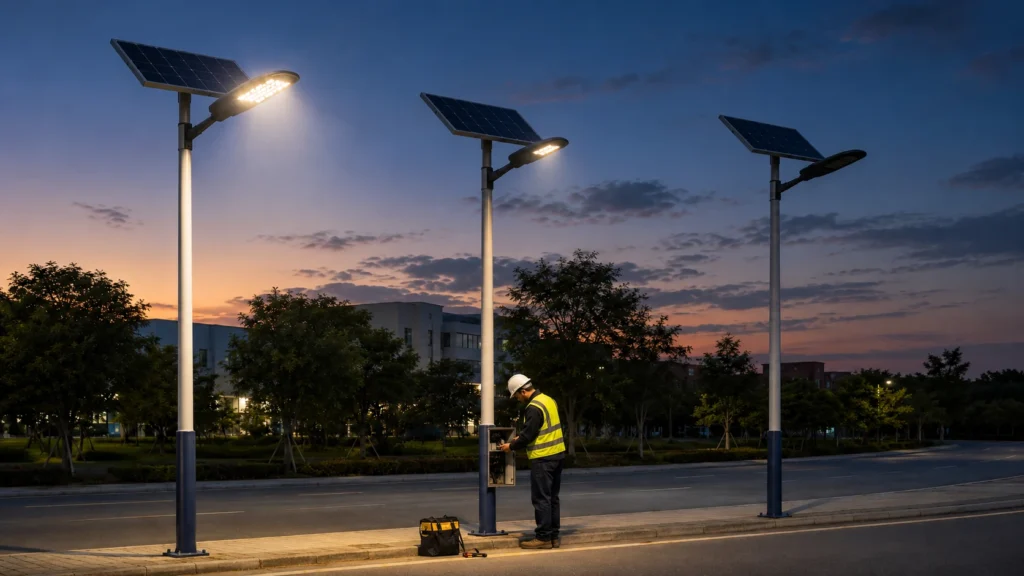
If you are not sure where to begin, use this quick table first.
| Problem You See | Most Likely Cause | First Fix to Try |
|---|---|---|
| It does not turn on at all | no charge, switch off, bad battery, sensor issue | turn on the switch, cover the panel, charge for one sunny day |
| It turns on briefly then goes off | weak battery or poor charging | clean the panel and replace the battery if needed |
| It is dim | dirty panel, old battery, cloudy weather | clean the panel and lens, then recharge fully |
| It flickers | loose contact, moisture, weak battery | check terminals and dry the unit |
| It works only after sunny days | poor sunlight or low battery reserve | move it to a sunnier position |
| It stops after rain | water ingress or corrosion | dry the unit and inspect seals |
| It turns on during the day | blocked or damaged sensor | clean the panel and sensor area |
| Several lights fail together | shade, weather, or wrong location | check the whole outdoor area, not only one light |
Swipe table to view more.
Before You Replace the Light, Check the Whole Solar Lighting Chain
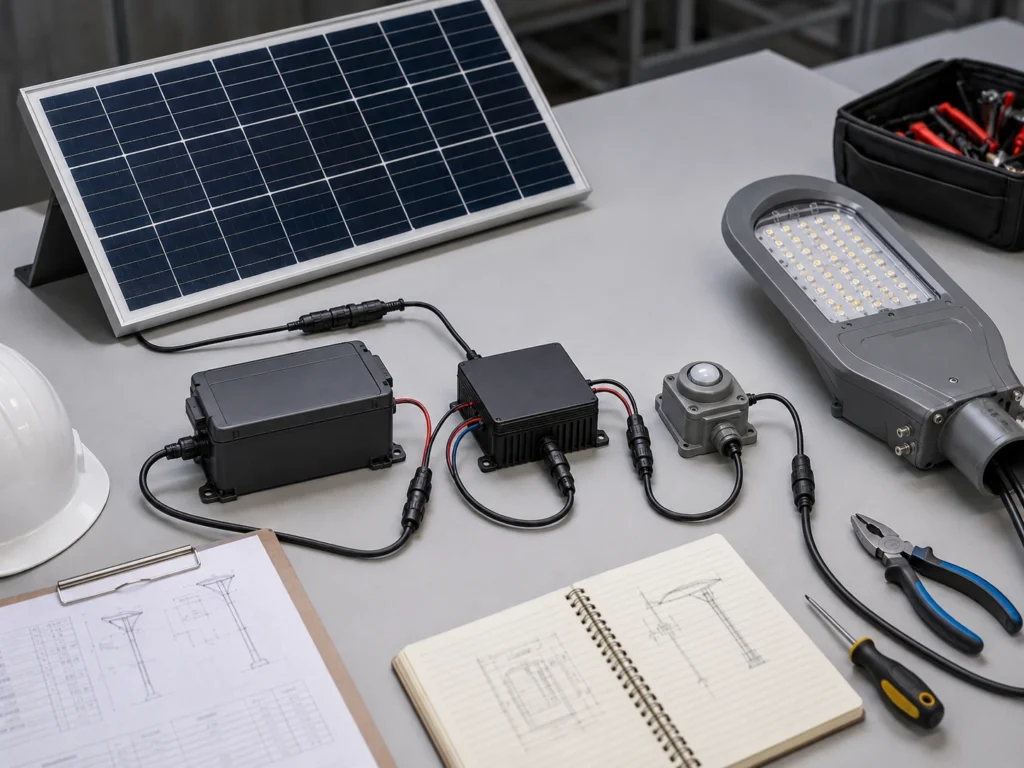
When a solar light stops working, many people assume the lamp is broken. But many solar light problems come from charging, battery storage, sensor control, or outdoor exposure.
A solar light works through a simple chain:
sunlight → solar panel → rechargeable battery → controller → sensor → LED light
If the panel cannot collect enough sunlight, the battery will not charge. If the battery is weak, the light may turn on briefly and then shut off. If the sensor is confused by nearby light, the lamp may not turn on at night. If water enters the housing, the wiring or controller may fail.
That is why solar light troubleshooting should start with the whole chain, not only the LED.
How Solar Lights Work
Most outdoor solar lights include:
- a solar panel
- a rechargeable battery
- a controller
- a light sensor
- an LED light source
- wiring and terminals
- an outdoor housing
During the day, the solar panel charges the battery. At night, the sensor tells the controller to power the LED.
If any part is dirty, blocked, old, wet, damaged, or poorly connected, the solar light may stop working.
The 5 Main Reasons Solar Lights Stop Working
Most solar light problems come from five areas.
| Problem Area | What Usually Goes Wrong | Common Symptoms |
|---|---|---|
| Solar charging | panel is dirty, shaded, cracked, or poorly angled | short runtime, dim light, works only after sunny days |
| Battery storage | battery is old, weak, wrong type, or corroded | turns on briefly, cannot stay on all night |
| Sensor and control | sensor, switch, or controller does not respond correctly | turns on during the day, does not turn on at night |
| Wiring and contact | terminals are loose, rusty, wet, or damaged | no light, flickering, unstable operation |
| Outdoor protection | water, dust, heat, or cold affects the housing | failure after rain, corrosion, repeated malfunction |
Swipe table to view more.
12 Common Solar Light Problems and Easy Fixes
The 12 numbered problems below cover the most common symptoms. We also include two extra checks for new solar lights and reset issues because they often happen during installation, first use, or controller restart.
1. Solar Light Does Not Turn On at All
What you may notice:
The light stays completely off at night, even after a sunny day.
Most likely causes:
- the power switch is off
- the battery has no charge
- the battery is installed incorrectly
- the sensor is not detecting darkness
- the battery terminals are loose or corroded
- the controller or LED circuit has failed
How to test it:
- Make sure the power switch is on.
- Cover the solar panel completely to simulate darkness.
- Let the light charge in direct sunlight for one full day.
- Check the battery direction and contact points.
- Look for rust, moisture, or loose terminals.
How to fix it:
Clean the contacts, fully charge the light, reinstall the battery correctly, and test it in darkness. If it still does not respond, the controller or LED circuit may be damaged.
Quick fix: Turn on the switch, charge the light for one sunny day, and test it by covering the solar panel.
Why Brand New Solar Lights Are Not Working
Brand new solar lights may fail to turn on because the battery is not charged, the shipping switch is still off, the battery connector is not fully plugged in, the panel is not receiving direct sunlight, or the sensor is still detecting daylight.
Before assuming the light is defective, charge it under direct sunlight for one full sunny day, check the switch position, cover the solar panel completely to simulate darkness, and make sure there is no strong nearby light shining on the sensor.
For project orders, several new lights failing at the same time may indicate incorrect installation, long storage before installation, insufficient first charging time, or a configuration that does not match the local weather conditions.
2. Solar Light Turns On Briefly Then Goes Off
What you may notice:
The light turns on at dusk, but it shuts off after a few minutes or one or two hours.
Most likely causes:
- weak battery
- poor daytime charging
- dirty solar panel
- shaded installation position
- battery capacity is too low
- controller shuts off due to low voltage
How to test it:
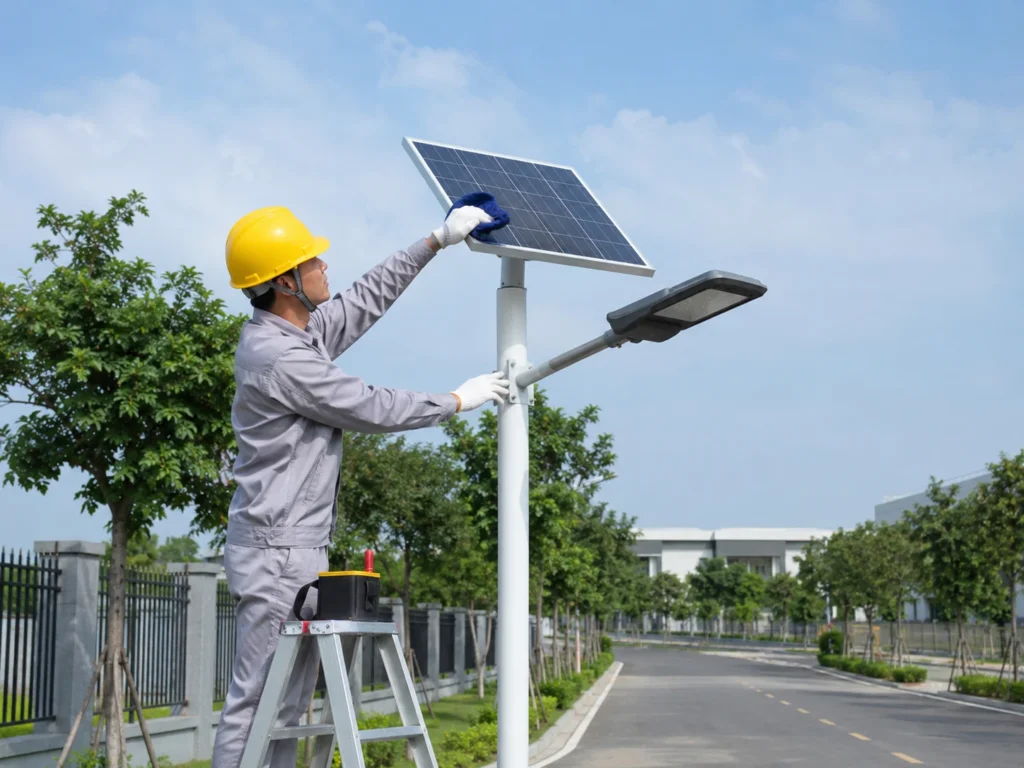
- Clean the solar panel.
- Move the light to direct sunlight.
- Charge it for one full sunny day.
- Test the runtime again at night.
- Replace the battery if the runtime is still short.
How to fix it:
If the light works only for a short time, the battery is often the first part to check. Replace it with the correct rechargeable battery type. If a new battery still drains quickly, the panel may not be charging enough.
Quick fix: Clean the panel, fully recharge the light, and replace the battery if the runtime is still short.
3. Solar Light Is Dim
What you may notice:
The light still works, but the brightness is weaker than before.
Most likely causes:
- dirty solar panel
- dirty or yellowed lens
- cloudy weather
- weak battery
- poor sunlight exposure
- aging LED light source
How to test it:
- Clean the solar panel.
- Clean the lens or diffuser.
- Check whether trees, walls, or plants block sunlight.
- Charge the light for one sunny day.
- Compare the brightness after cleaning and charging.
How to fix it:
Start with cleaning and better sunlight exposure. If the light is still dim after a full charge, replace the battery if possible. If brightness does not improve, the LED or internal circuit may be aging.
Quick fix: Clean the panel and lens first, then test the light again after a full sunny-day charge.
4. Solar Light Works Only After Sunny Days
What you may notice:
The light works after bright sunny days but performs poorly after cloudy or rainy weather.
Most likely causes:
- battery has low reserve capacity
- panel does not receive enough sun
- light is installed in a shaded area
- battery is old
- product is too small for the expected runtime
How to test it:
- Watch how many hours of direct sunlight the panel receives.
- Check for shade at different times of day.
- Clean the solar panel.
- Test performance after sunny and cloudy days.
How to fix it:
Move the light to a sunnier position if possible. If the battery is old, replace it. If the light still cannot work after cloudy days, the battery or panel may be too small for the location.
Quick fix: Move the light to a sunnier location and replace the battery if it has become weak.
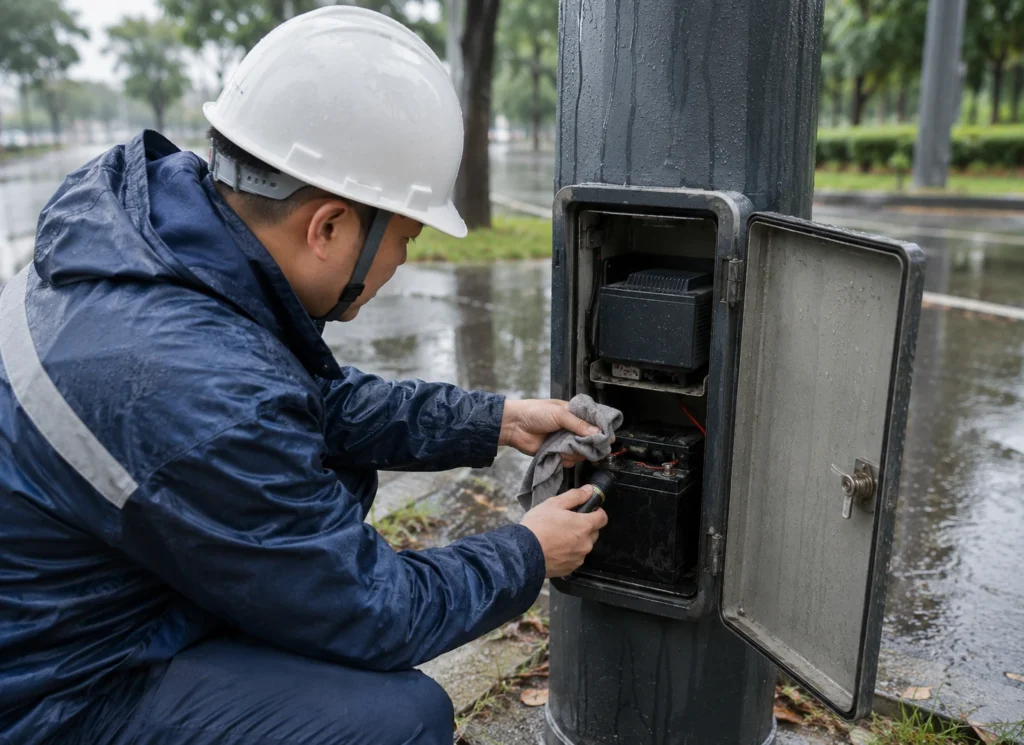
5. Solar Light Stops Working After Rain
What you may notice:
The light works normally, but after rain it becomes dim, flickers, or stops working.
Most likely causes:
- water entered the housing
- battery compartment is wet
- terminals are corroded
- cable entry points are not sealed
- controller is affected by moisture
- condensation forms inside the lens
How to test it:
- Open the battery compartment if possible.
- Look for water marks, rust, or moisture.
- Check the lens, switch, and cable entry points.
- Let the light dry completely before testing again.
How to fix it:
Dry the unit, clean corroded contacts, and replace the battery if it is damaged. If water has reached the controller, repair may not be worth it.
Quick fix: Dry the light completely, clean the contacts, and check whether water has entered the battery box or controller area.
6. Solar Light Flickers or Turns On and Off
What you may notice:
The light flashes, flickers, or turns on and off irregularly.
Most likely causes:
- loose battery contact
- weak battery voltage
- loose wiring
- moisture inside the housing
- dirty sensor
- unstable controller
How to test it:
- Check whether the battery sits firmly.
- Inspect the terminals for rust or looseness.
- Test the light after a full charge.
- Look for moisture inside the housing.
How to fix it:
Clean and tighten the battery contacts. Dry the unit if there is moisture. Replace the battery if voltage is weak. If flickering continues, the controller may be unstable.
Quick fix: Check the battery contact and terminals first, because loose or wet connections often cause flickering.
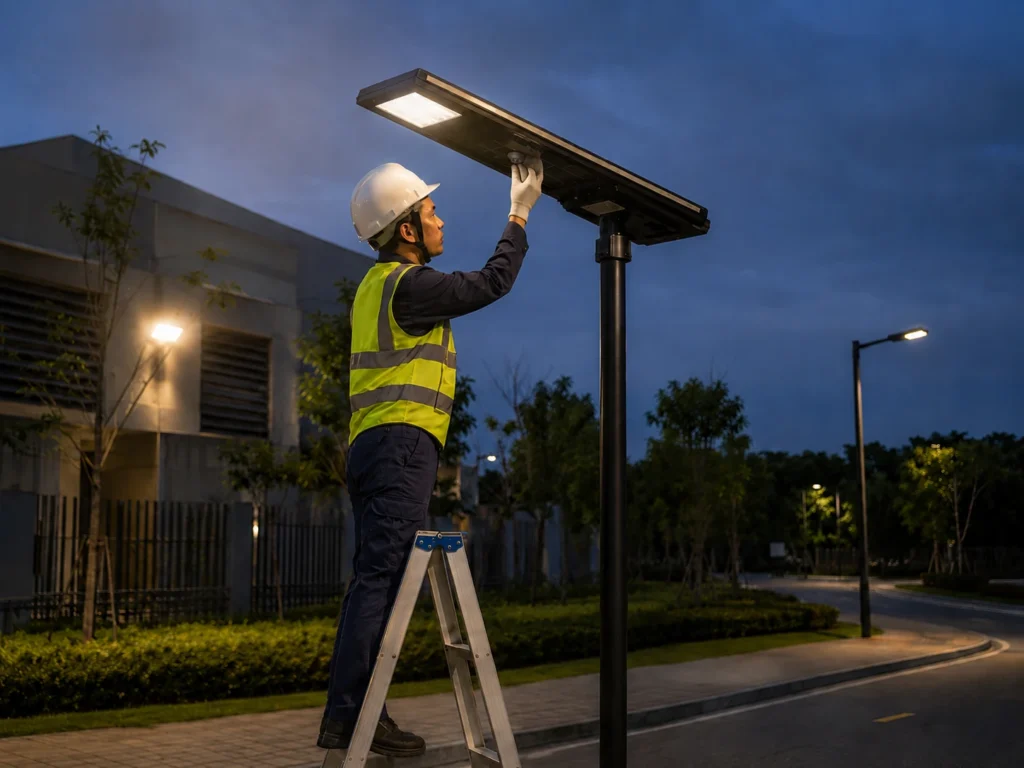
7. Solar Light Turns On During the Day
What you may notice:
The solar light turns on even when it is still bright outside.
Most likely causes:
- sensor is blocked
- solar panel is covered by dirt or leaves
- panel is in shade
- controller is confused
- sensor is damaged
How to test it:
- Clean the solar panel and sensor area.
- Move the light into direct sunlight.
- Check whether the light turns off in bright conditions.
- Reset the light if possible.
How to fix it:
Clean the sensor and panel, remove shade, and reset the unit. If it still turns on during the day, the sensor or controller may be faulty.
Quick fix: Clean the solar panel and sensor area, then place the light in direct sunlight.
8. Solar Light Does Not Turn On Automatically at Night
What you may notice:
The light works during testing, but it does not turn on by itself after sunset.
Most likely causes:
- nearby artificial light affects the sensor
- sensor is dirty
- panel receives reflected light at night
- porch lights or street lights confuse the sensor
- controller is not switching correctly
How to test it:
- Cover the solar panel completely.
- Move the light away from nearby lamps.
- Test it in a dark room.
- Wait a few seconds to see whether it turns on.
How to fix it:
Move the light away from porch lights, wall lights, windows, street lights, or reflective surfaces. Clean the sensor area. If it still does not switch automatically, the sensor may be damaged.
Quick fix: Test the light in complete darkness and move it away from nearby artificial light.
How to Reset Solar Lights Without a Remote
If your solar light does not have a remote control, you can still reset it by disconnecting the power source and allowing the controller to restart.
- Turn off the light if there is a physical switch.
- Cover the solar panel or move the light into a dark place.
- Disconnect the battery plug if the product allows safe access.
- Wait for 3 to 5 minutes.
- Reconnect the battery and turn the light on again.
- Charge the light under direct sunlight for one full sunny day.
- Test it again at night or by fully covering the solar panel.
If the light still does not respond after a reset, the problem may come from the battery, controller, sensor, wiring, or LED module. For sealed commercial solar street lights, do not open the housing unless you are qualified to do so.
9. Solar Panel Does Not Charge the Battery
What you may notice:
The light does not work even after being outdoors all day.
Most likely causes:
- dirty solar panel
- cracked panel
- shaded panel
- broken wire between panel and battery
- corroded terminals
- failed battery
- controller not charging the battery
How to test it:
- Clean the panel thoroughly.
- Check for cracks or cloudy surface damage.
- Inspect visible wires and connectors.
- Try a compatible rechargeable battery if available.
How to fix it:
If the panel is dirty, cleaning may restore charging. If the panel is cracked or the wiring is broken, replacement may be more practical than repair, especially for small low-cost solar lights.
Quick fix: Clean the panel and check for shade or cracks before assuming the battery is the only problem.
10. Battery Drains Too Fast
What you may notice:
The light charges during the day but loses power much faster than expected.
Most likely causes:
- battery is old
- battery capacity is too small
- solar panel does not charge enough
- cold weather reduces battery performance
- light runs too long at full brightness
- battery is the wrong type
How to test it:
- Check the battery age.
- Charge the light for one full sunny day.
- Compare runtime in warm and cold weather.
- Replace the battery with the correct type if it is old.
How to fix it:
Use the correct rechargeable battery and keep the panel clean. If the product has a small battery, it may never stay on all night during poor weather.
Quick fix: Replace the old rechargeable battery with the correct type and test the light after a full sunny-day charge.
11. Solar Motion Sensor Does Not Work
What you may notice:
The light does not respond to movement, turns on too late, or stays on when there is no motion.
Most likely causes:
- motion sensor lens is dirty
- sensor is blocked by plants or objects
- sensor angle is wrong
- battery is too weak
- sensitivity setting is incorrect
- PIR sensor or controller has failed
How to test it:
- Clean the motion sensor lens.
- Remove objects in front of the sensor.
- Walk across the detection area.
- Test after a full day of charging.
- Check whether the light has a mode or sensitivity setting.
How to fix it:
Clean and reposition the sensor area. Adjust the angle if possible. Replace the battery if it is weak. If the sensor still does not respond, the PIR sensor or controller may be damaged.
Quick fix: Clean the motion sensor lens and test the light after a full charge.
12. Several Solar Lights Fail in the Same Area
What you may notice:
Multiple lights in the same yard, pathway, park, driveway, parking area, or outdoor space fail or underperform together.
Most likely causes:
- the whole area has poor sunlight
- trees or buildings create shade
- weather has reduced charging for several days
- nearby artificial lights confuse the sensors
- several lights are from the same aging batch
- the product is not suitable for the location
How to test it:
- Compare shaded and sunny locations.
- Clean several panels and test again.
- Replace one battery and compare results.
- Check whether failures happen after rain or cloudy weather.
- Review whether all lights have the same installation problem.
How to fix it:
If many lights fail together, do not only replace one battery at a time. Check the whole area: sunlight, shade, weather, installation position, and product suitability.
Quick fix: If several lights fail at once, check the location and sunlight conditions before replacing individual parts.
Battery, Panel, Sensor, or Controller: How to Tell Which Part Failed
| Part | Signs of Problem | Simple Check |
|---|---|---|
| Battery | short runtime, dim light, turns on briefly | replace with the correct rechargeable battery |
| Solar panel | poor charging, works only after sunny days | clean panel and check for cracks or shade |
| Sensor | does not turn on at night, turns on during day | cover sensor and test in darkness |
| Wiring | flickering, unstable operation, no response | inspect terminals and connectors |
| Controller | no response after battery and panel checks | reset unit; replacement may be needed |
| Housing seal | failure after rain, moisture inside | inspect battery box, lens, and cable entry |
Swipe table to view more.
Should You Repair or Replace the Solar Light?
| Situation | Repair First | Replace Instead |
|---|---|---|
| Dirty solar panel | Yes | No |
| Old replaceable battery | Yes | No |
| Loose battery contact | Yes | No |
| Sensor blocked by dirt | Yes | No |
| Light placed in too much shade | Yes, move it first | No |
| Cracked solar panel | Usually no | Yes |
| Water inside controller | Usually no | Yes |
| Bad corrosion inside battery box | Usually no | Yes |
| Weak light after battery replacement | Maybe not | Usually yes |
| Product too small for the area | No | Yes |
Swipe table to view more.
Repair is worth trying when the problem is dirt, shade, loose contact, or an old replaceable battery.
Replacement is usually better when the panel is cracked, the housing is broken, the controller is damaged by water, or the light continues to fail after battery replacement.
How to Make Solar Lights Last Longer
Solar lights last longer when they are cleaned, charged properly, and protected from avoidable outdoor damage.
Clean the Solar Panel Regularly
Dust, leaves, bird droppings, pollen, and water marks reduce charging efficiency. A dirty solar panel may make a good battery look weak because the battery never receives enough energy.
Use a soft cloth and clean water. Avoid rough tools that may scratch the panel surface.
Keep the Light Away from Shade
Solar lights need direct sunlight to charge well. Avoid placing them under trees, beside tall walls, below roof edges, or behind large plants.
A place that was sunny in one season may become shaded in another season, so check the location from time to time.
Replace Weak Batteries Early
If the light becomes dim or the runtime becomes shorter, the battery may be aging. Replacing the battery early can prevent repeated failure.
Always use the correct rechargeable battery type, voltage, and size.
Keep the Housing Dry
Check the battery compartment, lens, switch area, and cable entry points after heavy rain. Moisture can damage terminals, batteries, and controllers.
If the light often has condensation inside, the seal may no longer be reliable.
Trim Plants Around the Light
Plants can block both sunlight and sensors. Keep the panel, LED, and motion sensor area open.
This is especially important for garden lights, pathway lights, and wall-mounted solar lights.
Choose the Right Light for the Location
A small decorative solar light may not work well in a shaded yard, a long rainy season, or a larger outdoor area that needs stronger lighting.
If the light is too small for the location, cleaning and battery replacement may only give short-term improvement.
What If Many Outdoor Solar Lights Keep Failing?
If one solar light fails, the problem is usually a battery, panel, sensor, wiring, or water issue.
If many solar lights in the same outdoor area fail together, the problem may be related to the whole lighting setup:
- not enough sunlight in the area
- poor product selection for the environment
- weak battery capacity
- poor waterproof protection
- wrong installation angle
- long rainy or cloudy periods
- dust, heat, salt air, or other outdoor exposure
For larger outdoor spaces, repeated failure should not be solved only by replacing one light at a time. It is better to review the product type, installation location, weather exposure, and expected runtime.
For larger outdoor lighting needs, Sunlurio provides solar street light products, outdoor lighting solutions, and project references for different application environments.
For Projects: When Many Solar Lights Fail Together
If several solar lights fail in the same road, park, compound, parking area, or municipal project, the problem is usually not one broken lamp.
For EPC, municipal, compound, parking area, and road lighting projects, repeated failure is usually a system issue, not only a single lamp issue.
The failure may come from poor sunlight exposure, undersized battery capacity, incorrect working-hour settings, weak waterproof protection, low-quality controllers, wrong installation angle, or a product configuration that does not match the local climate.
For project troubleshooting, the following information should be checked before replacing parts:
- installation country and local weather conditions
- road width, pole height, pole spacing, and mounting angle
- required working hours and backup rainy days
- solar panel wattage and battery capacity
- controller type, dimming program, and sensor logic
- photos of failed lights, wiring, battery box, pole, foundation, and installation site
Sunlurio can help project teams review whether repeated failures are caused by parts, installation, system configuration, or site conditions.
Need More Reliable Outdoor Solar Lighting?
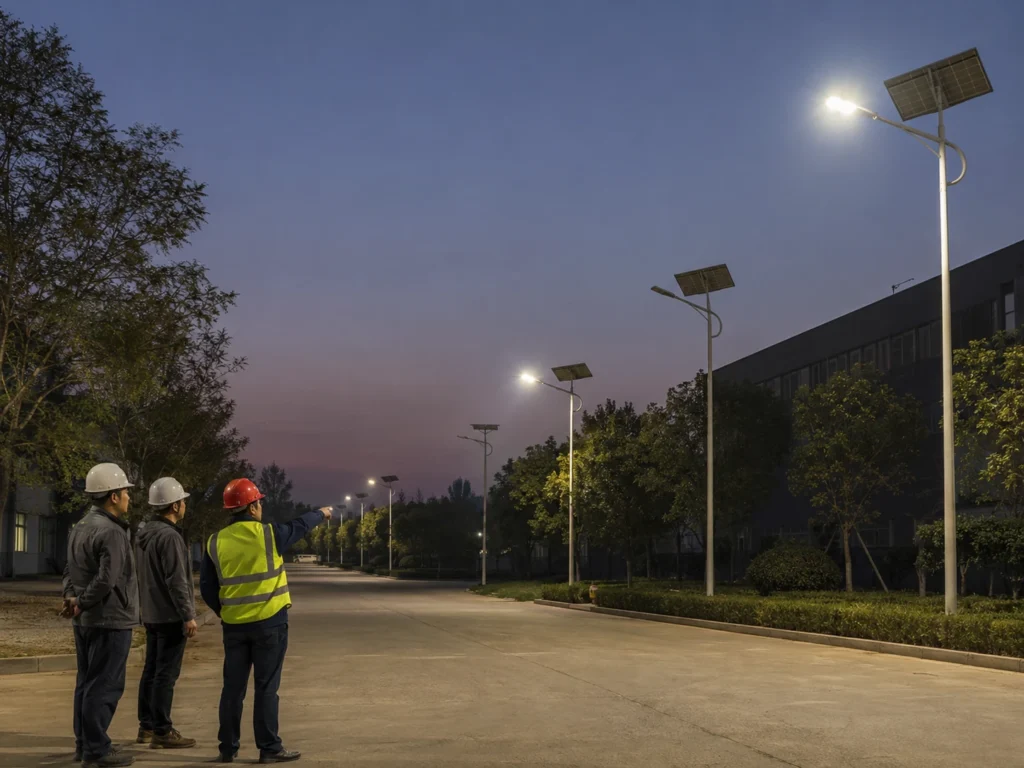
For gardens, pathways, yards, parks, compounds, parking areas, roads, and larger outdoor areas, solar lighting performance depends on more than the lamp itself.
The actual result is affected by:
- sunlight exposure
- battery capacity
- waterproof structure
- installation position
- expected lighting hours
- seasonal weather
- long-term outdoor durability
If you are planning a larger outdoor lighting setup, it is better to choose products based on real use conditions instead of only comparing appearance or price.
You can also review Sunlurio’s manufacturing and quality control and markets we serve to understand how outdoor lighting products are selected for different environments.
FAQ
Why do solar lights suddenly stop working?
Solar lights usually stop working because the battery has no charge, the solar panel is dirty or shaded, the sensor is confused, the wiring is loose, or water has entered the housing. Start by checking sunlight, battery contact, and sensor response.
How do I know if my solar light battery is bad?
A bad battery often causes short runtime, dim light, failure after cloudy days, or the light turning on briefly and then shutting off. If the light works better after replacing the battery, the old battery was likely the problem.
Can dirty solar panels stop solar lights from working?
Yes. Dirt, dust, leaves, bird droppings, and water marks can reduce solar charging. If the battery does not receive enough energy during the day, the light may become dim or stop working at night.
Why do my solar lights work only after sunny days?
This usually means the light has limited energy reserve. The panel may not receive enough sunlight, the battery may be weak, or the product may be too small for the expected runtime.
Why do solar lights stop working after rain?
Rain-related failure is often caused by water ingress, corrosion, wet terminals, damaged seals, or moisture inside the battery compartment or controller. If this happens repeatedly, the housing may no longer be reliable.
Why does my solar light turn on during the day?
The sensor may be blocked, dirty, shaded, or damaged. Clean the solar panel and sensor area, move the light into direct sunlight, and reset the unit if possible.
Why does my solar light flicker?
Flickering is commonly caused by weak battery voltage, loose wiring, corroded terminals, moisture, or an unstable controller. Check the battery, terminals, and housing for water first.
Should I repair or replace my solar light?
Repair is worth trying when the problem is dirt, shade, battery aging, loose contact, or sensor blockage. Replacement is usually better when the panel is cracked, the housing is broken, water has damaged the controller, or the light keeps failing after battery replacement.
How do I reset solar lights without a remote?
Turn the light off if it has a switch, disconnect the battery only if it is safe and accessible, wait 3 to 5 minutes, reconnect it, and charge the light under direct sunlight for one full sunny day. Then test it at night or by fully covering the solar panel. If it still does not respond, check the battery, controller, sensor, wiring, and water ingress before replacing the whole light.
Why are my brand new solar lights not working?
Brand new solar lights may not work because the shipping switch is still off, the battery has not had enough first charge, the battery connector is loose, the panel is shaded, or the sensor is still detecting daylight. Charge the light for one full sunny day, check the switch and connector, and test it in complete darkness before treating it as defective.
Why do several solar lights fail in the same area?
When several solar lights fail in the same area, the cause is often related to site conditions or system configuration rather than one single lamp. Check shading, sunlight hours, panel angle, battery capacity, waterproofing, controller settings, pole spacing, and local weather before replacing lights one by one.
Conclusion
Solar lights usually stop working because one part of the system is no longer doing its job. The problem may be poor charging, a dirty panel, a weak battery, sensor interference, loose wiring, water damage, or an unsuitable installation location.
Before replacing the whole light, check the basics:
- clean the solar panel
- move the light into direct sunlight
- test the light in darkness
- inspect the battery
- check the wiring and terminals
- look for water or corrosion
- reset the unit
Many solar lights can work again after cleaning, charging, battery replacement, or simple contact repair.
If the same problem keeps coming back, or if many lights fail in the same outdoor area, the issue may be bigger than one broken part. In that case, the location, weather exposure, product quality, waterproofing, battery capacity, and installation method should all be reviewed before replacing lights one by one.