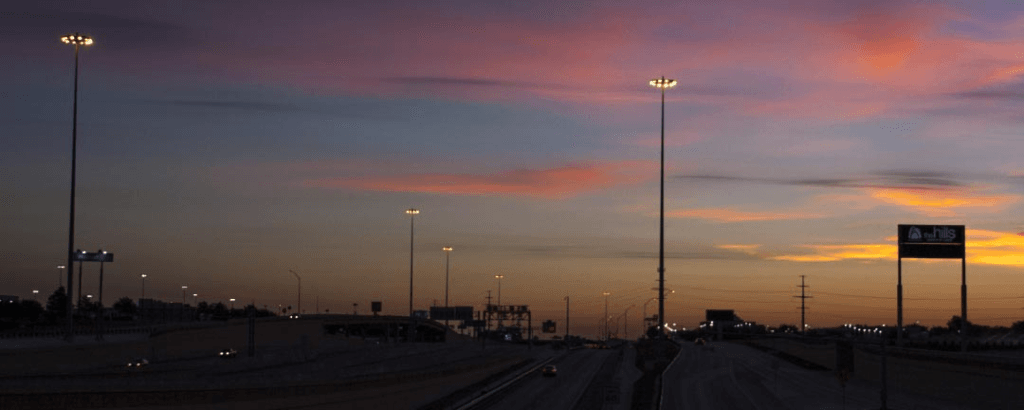
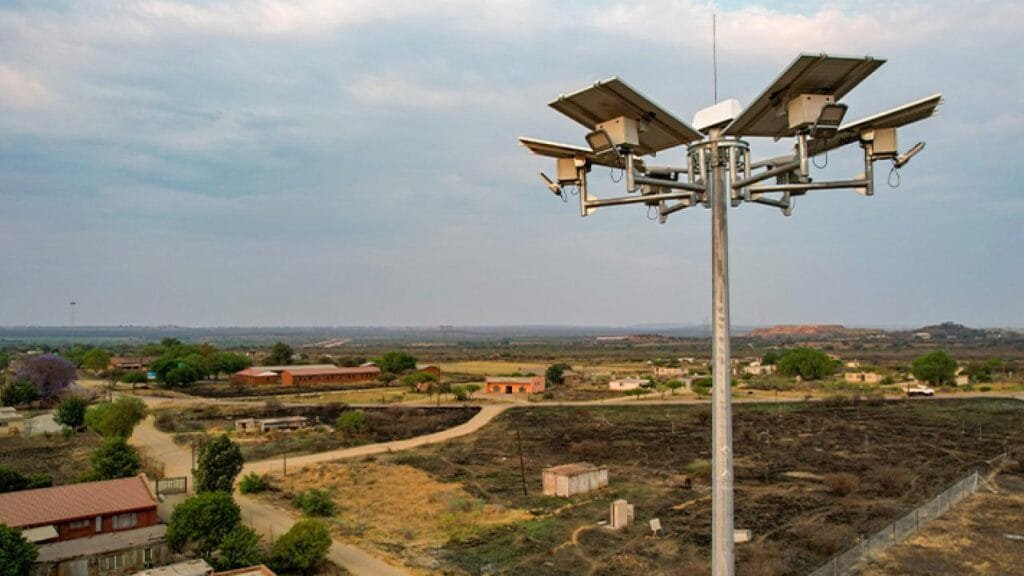
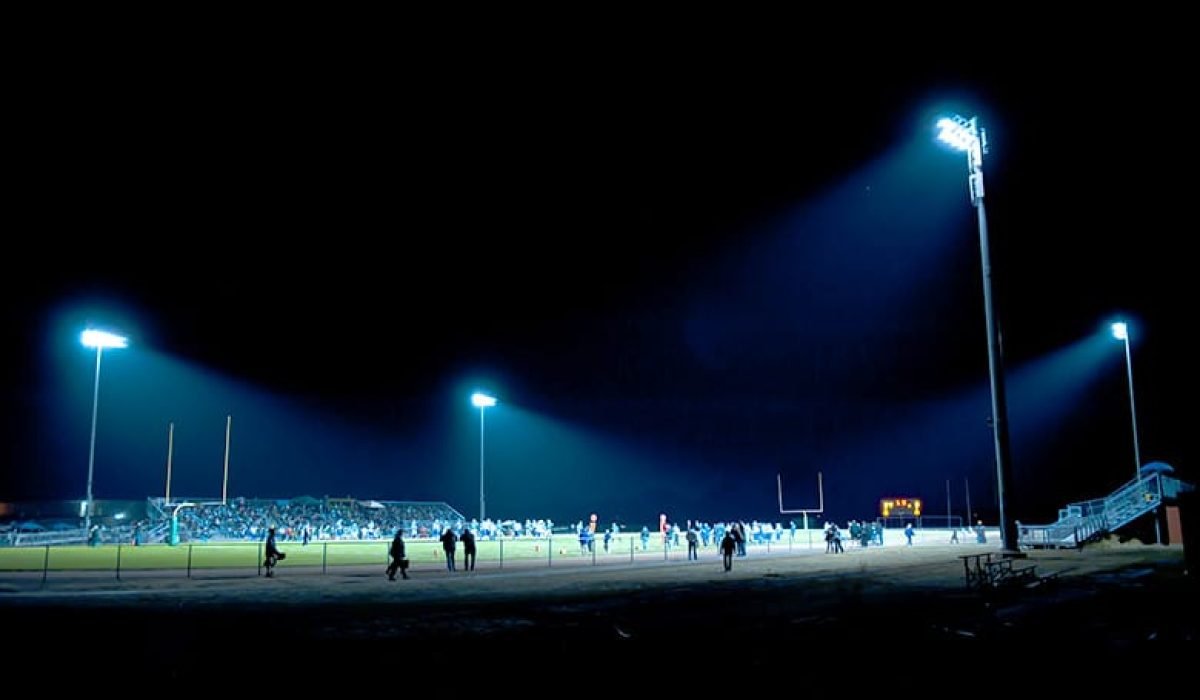
Installing a high mast lighting system needs careful planning, solid electrical work, and strict safety checks. A good installation means your lights last longer, work better, and save you problems down the road.
Whether it’s for highways, ports, stadiums, or big industrial yards, a clear process helps avoid mistakes and delays. Let’s look at each part step by step.
What Are the Key Steps for Installing High Mast Lighting?
The main steps for high mast lighting include preparing the site, building a strong foundation, lifting and fixing the poles, doing the electrical work, and finally testing everything to make sure it works properly.
Good planning helps avoid issues like tilting poles, poor lighting, or electrical faults that can be dangerous.
Step-by-Step Installation Process
| Step | Description |
|---|---|
| 1. Site Assessment | Check the ground condition, wind load, and space. |
| 2. Foundation Construction | Dig and pour concrete to hold the pole steady. |
| 3. Pole Erection | Lift the mast carefully into place. |
| 4. Electrical Wiring | Connect power, control boxes, and ground wires. |
| 5. Light Fixture Setup | Fix the floodlights at the right angles. |
| 6. Testing & Adjustment | Check stability and lighting performance. |
Each step matters a lot. Even missing a small detail can cause big trouble later.
How to Prepare the Site for Installation?

A good site setup is key to a stable foundation and even light coverage.
Points to Check Before You Start
-
Soil Test
- Know the soil strength so your foundation won’t move.
- Pick foundation type based on how firm the ground is.
-
Wind and Weather Check
- Make sure poles can handle local wind speed.
- Think about storms or heavy rain in your area.
-
Pole Layout
- Place poles so light covers evenly.
- Keep away from big trees or tall buildings blocking light.
A solid site prep step means fewer headaches and repairs later on.
What Are the Foundation Requirements for High Mast Lights?
A good foundation keeps the pole upright and safe. The design depends on soil and pole height.
Building the Foundation
-
Excavation
- Dig deep enough based on pole height.
- Remove loose soil at the bottom.
-
Rebar and Anchors
- Install steel bars and anchor bolts to lock in the pole.
- Check bolt layout with a template to keep them straight.
-
Concrete Pouring & Curing
- Use strong concrete and let it cure fully.
- Keep the top level so the pole stands straight.
A weak foundation means the pole can tilt or even fall, which is very risky and costly to fix.
How to Install High Mast Poles Safely?

Raising a tall pole is serious work. You need proper tools and careful moves.
Steps for Lifting and Setting Poles
-
Check First
- Look for cracks or damage on the pole.
- Align bolts and base plates before lifting.
-
Lifting Process
- Use a crane or lift to move it slowly.
- Lower carefully onto foundation bolts.
-
Fix and Secure
- Tighten bolts as per specs.
- Use a level to check if the pole is straight.
Careful pole setup avoids dangerous tilts and keeps everything secure.
How to Wire and Connect High Mast Lights?
Wiring needs to be correct for the lights to work safely and without power loss.
Electrical Work
-
Power Line Setup
- Check voltage needs (220V, 380V, or solar).
- Use waterproof cables so they last outdoors.
-
Control System
- Add timers or smart controls to save energy.
- Make sure grounding is good to avoid electric shocks.
-
Fixture Positioning
- Fix lights tightly at correct angles.
- Test lighting spread to avoid dark spots.
Good wiring prevents short circuits and costly breakdowns.
How to Test and Commission High Mast Lighting?

Final checks make sure your system is ready to run safely and efficiently.
Important Tests
| Test | Purpose |
|---|---|
| Stability Test | Confirms pole won’t move or lean. |
| Electrical Check | Makes sure wiring is safe and working right. |
| Light Test | Adjusts brightness and angle. |
| Weather Check | Checks performance in wind and rain. |
These tests avoid future complaints and costly repairs.
How to Pick the Right Team and Maintenance Plan?
Choosing skilled workers and planning regular maintenance keeps the lights working longer and safer.
Picking Your Team
-
Check Their License
- Only work with experienced, certified teams.
- Ask if they follow local codes.
-
Equipment and Skills
- Make sure they use proper cranes and tools.
- Ask for examples of past projects.
-
Service Warranties
- Check what guarantee they give.
- Make sure they offer support after installation.
Maintenance Schedule
| Task | How Often |
|---|---|
| Visual Check | Every 6 months |
| Clean Fixtures | Once a year |
| Electrical Test | Every 2 years |
| Pole Check | Every 5 years |
Regular checks save money and avoid sudden failures.
Conclusion

Installing high mast lighting takes proper planning, skilled work, and strong safety steps. From soil tests to final light checks, each part matters for a safe and long-lasting system. By picking the right team and following a maintenance plan, you make sure your high mast lights work well for many years.


