 Skip to content

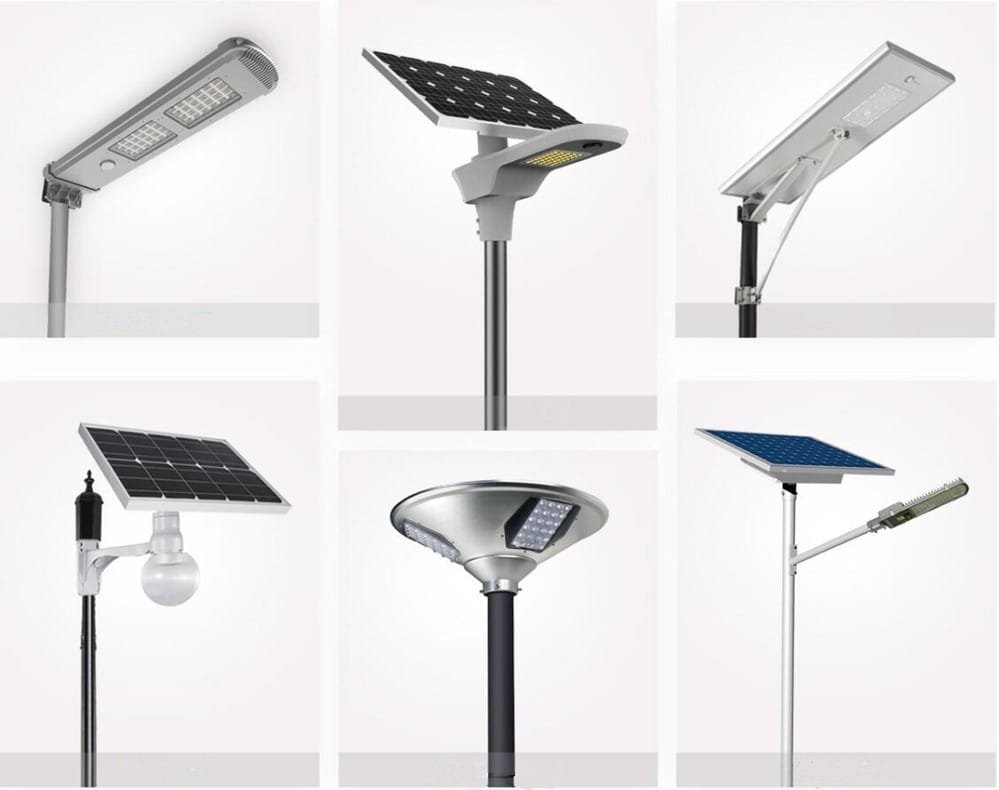
All-in-one solar street lights integrate solar panels, LED lights, and lithium batteries into a compact design. They are widely used in streets, squares, and parks due to their easy installation, low energy consumption, and minimal maintenance. However, improper installation can reduce efficiency and shorten lifespan.
Proper installation ensures maximum performance, extended service life, and reduced maintenance costs. The key steps include selecting the right installation site, securely assembling the pole, properly mounting the light fixture, and conducting thorough testing. Regular maintenance keeps the system operating efficiently.
Let's explore the step-by-step process to correctly install and maintain all-in-one solar street lights.
How to Choose the Right Installation Site?
If the solar panel does not receive sufficient sunlight, the battery may not fully charge, leading to dim lighting or reduced operation time.
The best installation site should ensure at least 6-8 hours of direct sunlight per day, avoid obstructions like buildings and trees, and be positioned at the right height and angle for maximum illumination.

Key Considerations for Placement
- Ample Sunlight Exposure: Install the light in an open area where the solar panel can receive uninterrupted sunlight.
- Avoid Shadows and Obstructions: Trees, buildings, and utility poles can reduce charging efficiency and should be avoided.
- Adjust the Height Properly: The installation height typically ranges between 4-8 meters, depending on the road width and lighting requirements.
- Environmental Considerations: Avoid low-lying areas prone to flooding and ensure the location is safe from potential vandalism.
How to Properly Assemble the Pole?
If the pole is not securely assembled, it may tilt or collapse due to wind or vibration, affecting performance and safety.
Securely connecting all components, ensuring a solid foundation, and performing multiple stability checks are crucial to a properly assembled pole.
Steps for Secure Pole Assembly
- Inspect all components: Verify that screws, nuts, brackets, and other parts are complete before installation.
- Install the base: Secure the base using expansion bolts or concrete foundations for maximum stability.
- Assemble the pole: Connect the pole sections in order, ensuring that all joints are tight and properly fastened.
- Check for stability: Use tools to confirm the pole is straight and secure, making adjustments as needed.
How to Mount the Light Fixture?
The light fixture includes the LED lamp, solar panel, battery, and controller. Proper positioning and secure mounting are essential for efficiency and durability.
A correctly installed fixture ensures even light distribution, optimal solar energy absorption, and resistance to environmental factors like wind and vibration.
Key Steps for Fixture Installation
- Adjust the solar panel angle: Position the panel according to the local sunlight exposure to maximize charging efficiency.
- Ensure proper illumination coverage: Set the light head at an optimal angle to evenly distribute light across the target area.
- Secure all components: Use a wrench to tighten screws and bolts, preventing movement due to wind or vibrations.
How to Test the Solar Street Light?
Skipping the testing phase can lead to unexpected failures, such as sensor malfunctions, battery charging issues, or faulty LED operation.
Manually and automatically test the system to verify proper operation, including manual switch checks, light sensor functionality, and battery performance.

Testing Procedure
- Manual switch test: Turn on the system to check if the LED lights function correctly.
- Light sensor test: Cover the solar panel to simulate nighttime and check if the lights turn on automatically.
- Battery charging test: Observe the charging indicator to ensure proper battery charging during daylight.
- Nighttime operation test: Monitor the light's performance overnight to confirm expected illumination duration.
How to Secure the Pole?
An improperly secured pole can pose safety risks, especially in strong winds or adverse weather conditions.
The most reliable method is using a concrete foundation and embedding at least one-third of the pole underground for added stability.
Secure Installation Methods
- Concrete foundation: Pour concrete around the base to firmly anchor the pole.
- Deep ground installation: Embed one-third of the pole’s length underground to increase resistance against wind loads.
- Bolt fixation: If using pre-embedded bolts, ensure all bolts are tightened securely.
How to Perform Routine Maintenance?
Although all-in-one solar street lights require minimal maintenance, regular inspections and cleaning can extend their lifespan and enhance efficiency.

Maintenance Guidelines
| Task | Frequency | Purpose |
|---|---|---|
| Clean the solar panel | Monthly | Remove dust and debris to improve energy conversion efficiency |
| Check battery health | Every 6 months | Ensure the battery maintains proper charge and discharge cycles |
| Inspect mounting hardware | Annually | Prevent loose components from causing system failure |
| Test lighting function | Quarterly | Confirm the system is working as expected |
Conclusion
Proper installation and maintenance of all-in-one solar street lights ensure optimal performance, safety, and longevity. Selecting the right location, securely assembling the pole, properly mounting the fixture, and conducting thorough testing are essential steps. Regular maintenance helps prevent failures and maximizes efficiency over time.

