

Why More People Try Installing Solar Street Lights Themselves
Not long ago, I visited a small clinic in western Kenya. The staff were eager to add lights around their parking area but had no budget for contractors. We spent a Saturday afternoon putting up three solar street lights together. By evening, the place was brighter and safer, and the team realized they could manage the installation themselves with just a few tools.
That story is becoming more common. As solar street lights grow in popularity, more people are trying DIY installations. It’s not always smooth—there are lessons to learn—but in many cases, it’s simpler than you might think.
What You’ll Need Before You Start
You don’t need a full workshop, but a few basics make the job easier.
Tools I usually carry:
- Screwdrivers (flat and cross)
- Adjustable wrench
- Power drill (helps but not always essential)
- Ladder
- Safety gloves & helmet
The components in a typical kit:
- Solar panel
- LED lamp fixture
- Rechargeable battery
- Pole and base
- Controller (the “brain” that manages charging and lighting)
- Mounting brackets & bolts
⚠️ Safety note: If the pole is heavy, don’t attempt to raise it alone. I once tried that mistake in Arusha, and the pole nearly slipped—now I always call for an extra hand.
Finding the Right Spot for Your Solar Light
Location matters more than anything else. Aim for:
- Full sunlight during the day (avoid shading from trees and buildings).
- Even coverage across the area you want lit.
- Clear space for the foundation so you don’t disturb underground pipes or cables.
In one school project, we underestimated shade from a nearby water tank—the panels charged poorly, and we had to move the poles two weeks later. Better to think carefully upfront.
Getting the Components Ready
Lay out all parts on the ground first.
- Attach the solar panel, lamp, and battery box to their brackets.
- Most kits use color-coded wiring—red for positive, black for negative—but check your manual.
- Don’t rush the tightening of bolts. A loose joint will rattle in the wind, and I’ve seen panels twist out of alignment because of it.
Securing the Pole
This part often decides whether your installation lasts five years or just five months.
- Dig or prepare a foundation base. Most manufacturers suggest 60–80 cm depth, but in sandy soils, I go deeper—up to 100 cm—to prevent leaning.
- Anchor with bolts or concrete.
- Test stability: I always give the pole a firm shake. If it wobbles even slightly, I stop and reset the base before mounting anything.
Once, in northern Uganda, we underestimated the soil softness, and a storm knocked down two poles overnight. That lesson taught me to never compromise on the foundation.
Mounting the Solar Panel and Lamp
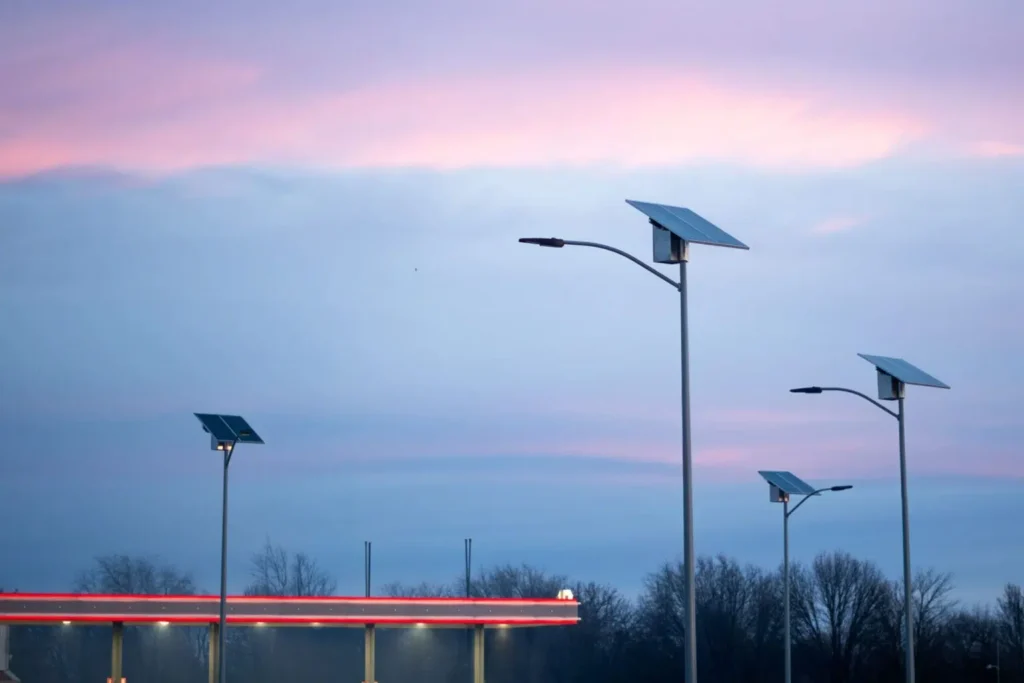
- Fix the panel at a tilt of about 15–30° facing the sun. This angle may vary depending on your latitude—closer to the equator often means a lower tilt.
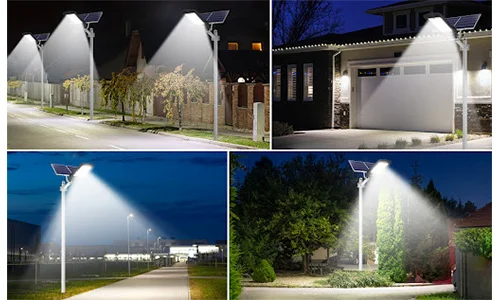
- Adjust the lamp fixture so it lights the target area (parking lot, pathway, or yard). Too often I see lamps aimed too high, wasting light.
Wiring Up the Battery and Controller
- Connect the battery to the controller, then the panel and lamp.
- Double-check polarity before sealing connections.
- Safety tip: Batteries are sensitive—never short-circuit them or expose them to direct rain during installation.
At first, this step may feel intimidating, but with most modern kits, connectors are plug-and-play.
First Test Run
- Cover the solar panel briefly—does the lamp turn on?
- Walk around: does the motion sensor trigger brighter light?
- Check if brightness covers the intended area.
In rainy seasons, it sometimes takes longer for the batteries to fully charge. Don’t panic if the lights seem dim the first evening—they usually stabilize after a few sunny days.
Lessons I Learned the Hard Way
Looking back at my early installations, these mistakes come up often:

- Choosing a spot with partial shade → poor charging.
- Loose wiring that corrodes after the first rain.
- Mounting the panel at the wrong angle, reducing efficiency.
- Skipping a proper test before declaring the job finished.
If you avoid these, you’re already ahead of where I was years ago.
Keeping Your Lights Working for Years
A few minutes of maintenance each year goes a long way:
- Wipe dust and bird droppings off the panel every couple of months.
- Inspect batteries every 1–2 years and replace if capacity drops.
- After storms, check for loose bolts or damaged fixtures.
One client in Mombasa ignored cleaning for nearly a year; output dropped by 40%. After we wiped the panels, performance went back to normal.
Wrapping Up
Installing your own solar street lights is not a flawless process—sometimes you’ll wrestle with stubborn bolts or misjudge a foundation depth. But with patience and the right steps, most beginners can set up a working system without calling in a contractor.
The bigger question is: will more of us start taking on these installations ourselves, or will we keep waiting for technicians even when the process is this accessible?
