

Struggling to configure your solar street light with a remote? Don't worry, you're not alone. Many users face challenges with initial setup and remote functions.
Setting up a solar street light with a remote is simple: turn on the system, pair the remote, and adjust brightness and timing settings as needed. Follow these steps for a smooth and efficient setup.
Understanding the correct setup process ensures maximum performance and longevity of your solar street light. Let's break it down step by step.
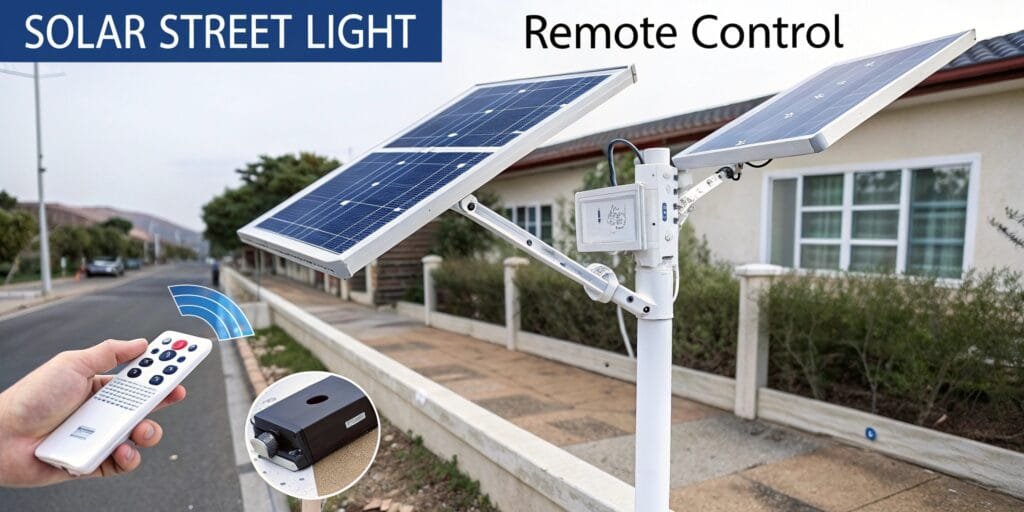
How Does a Solar Street Light Remote Work?
A solar street light remote lets you control brightness, timer settings, and operational modes. It works via infrared (IR) or radio frequency (RF) signals, depending on the model.
Most remotes come with preset options, allowing users to adjust light intensity and timing with a single press. This makes managing solar street lights more efficient, especially in large installations.
Common Functions on a Remote
| Function | Description |
|---|---|
| ON/OFF | Turns the light on or off manually |
| Timer | Sets the duration for the light to stay on (e.g., 3h, 5h, 8h) |
| Brightness | Adjusts light intensity (e.g., 50%, 75%, 100%) |
| Auto Mode | Enables dusk-to-dawn operation |
| Motion Sensor Mode | Activates motion detection for energy-saving |
Remote control simplifies solar light management, reducing manual intervention.
Step-by-Step Guide to Setting Up Your Solar Street Light with a Remote
Follow these steps to set up and control your solar street light using a remote efficiently.
1. Unbox and Check Components
Before installation, verify that all components are included:
- Solar panel
- LED light
- Mounting hardware
- Remote control
- Instruction manual
Ensure the remote has batteries installed and is functioning.
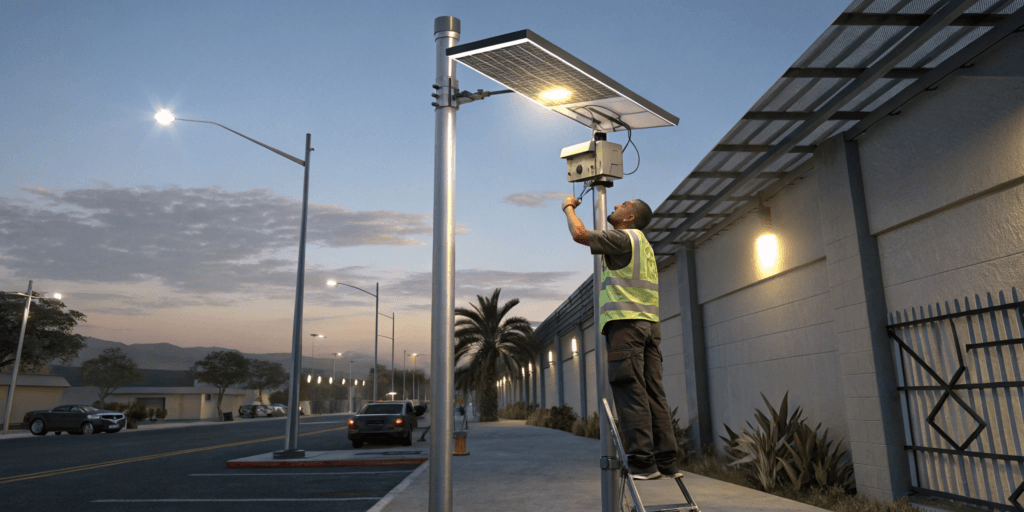
2. Install the Solar Street Light
Mount the light securely at the desired location. Position the solar panel to receive maximum sunlight during the day.
3. Power On the Light
Most solar lights have a manual power button on the body. Turn it on before using the remote.
4. Test the Remote
Point the remote towards the light and press the ON button. If the light responds, the remote is working correctly.
5. Adjust Settings
Use the remote to set brightness levels and timing options as per your requirements.
6. Enable Auto Mode (Recommended)
Activating auto mode allows the light to turn on at dusk and off at dawn automatically.
Troubleshooting Common Remote Issues
If the remote isn’t working, check these common problems and solutions.
1. The Light Doesn’t Respond to Remote Commands
- Ensure the light is turned on manually before using the remote.
- Replace remote batteries if needed.
- Check for obstructions between the remote and the light.
2. The Timer Function Isn’t Working
- Verify that the selected timing mode is compatible with the light's settings.
- Reset the light and try setting the timer again.
3. The Brightness Setting Doesn’t Change
- Some models only support certain brightness levels in specific modes.
- Restart the light and test again.
My Insights
Using a remote to control solar street lights adds convenience, especially in large outdoor spaces. However, understanding the features and troubleshooting common issues ensures smooth operation. Always test settings before finalizing installations to avoid unnecessary adjustments.
By following these steps, you can efficiently set up and manage your solar street lights with a remote, ensuring optimal performance and longevity.
